
This post contains affiliate links.
To make acrylic paintings glow like stained glass, use bold outlines, layered color, and lighter tones in the center of each shape to create a natural light effect.
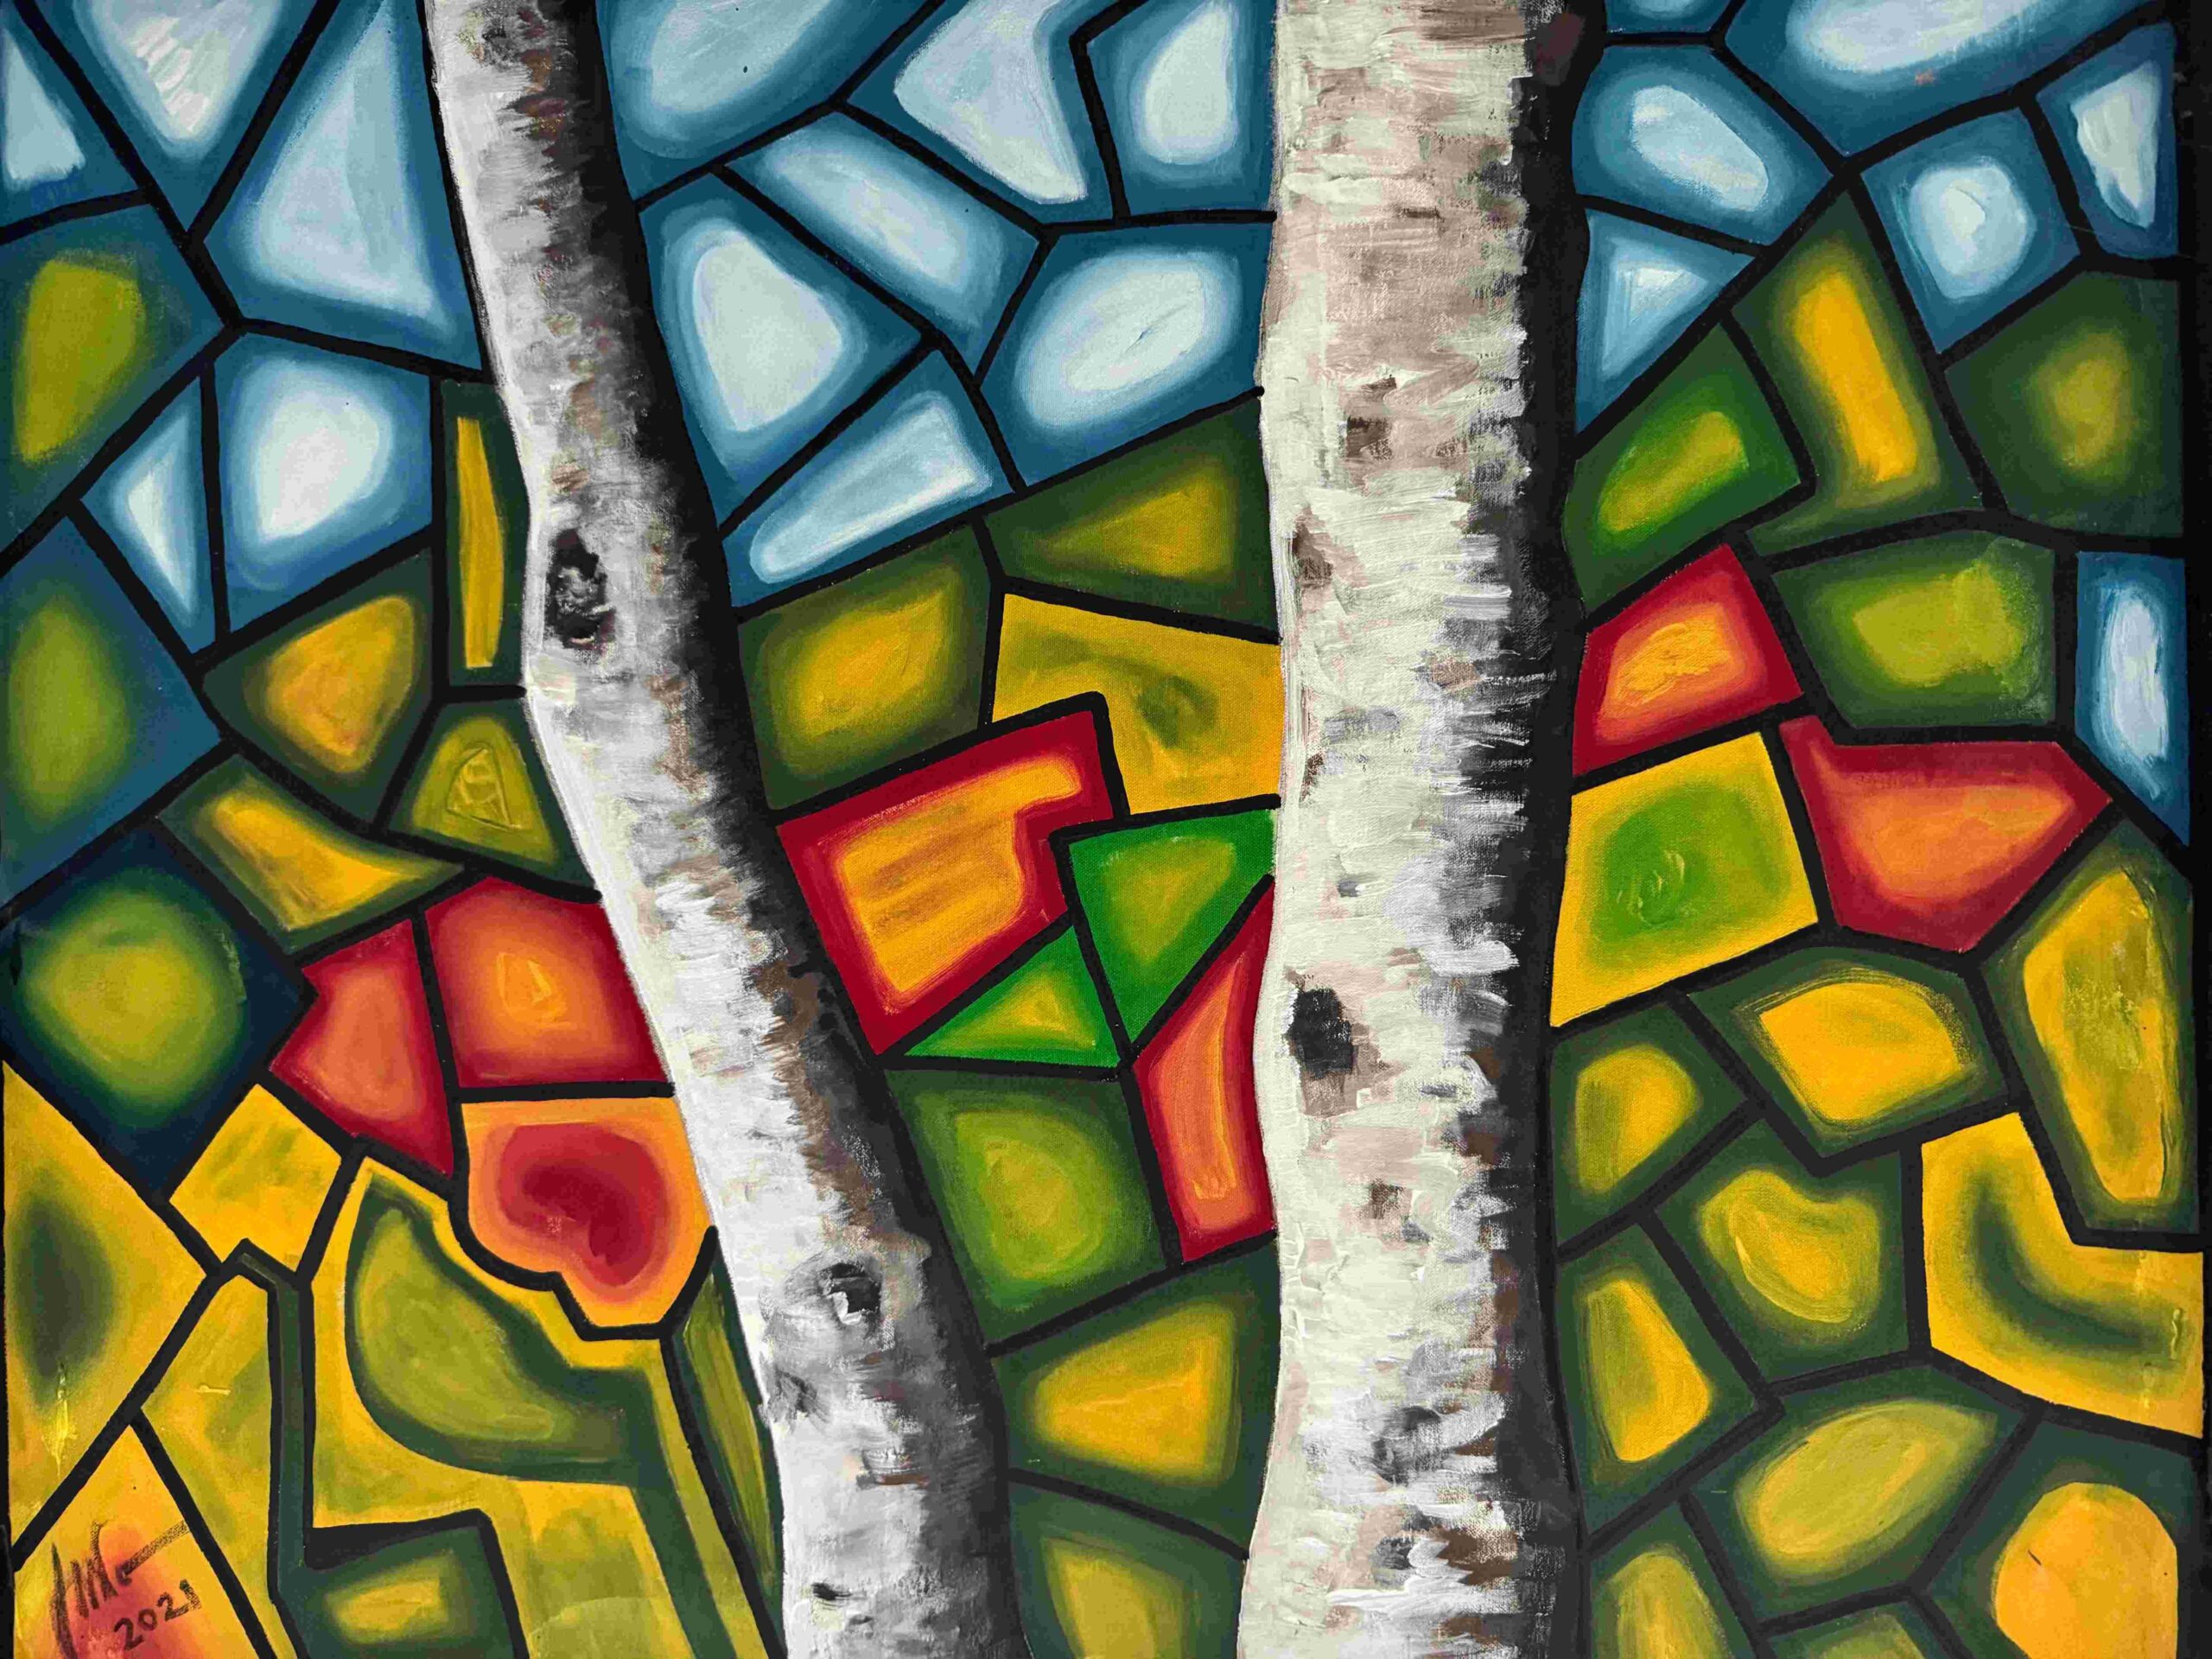
If you’ve already explored stained glass–inspired acrylic painting, you’ve probably noticed something powerful—it’s not just about color, it’s about light.
This style stands out because it mimics the way real stained glass catches and reflects light. The bold outlines, glowing color sections, and strong contrast create artwork that feels alive.
In this guide, you’ll learn how to take your stained glass acrylic paintings to the next level using simple techniques that create depth, glow, and professional results.
🧱 Start with Strong, Simple Shapes
One of the biggest mistakes beginners make is overcomplicating the design.
Stained glass style works best when you simplify your subject into bold, clean sections.
Instead of painting every detail, break your subject into:
- Large shapes
- Clear boundaries
- Easy-to-read forms
👉 Think of it like building a puzzle—each piece should stand on its own.
✏️ Use Thick, Confident Lines
The “leading” lines are what define this style.
These lines separate each color section and give your painting that classic stained glass look.
To get clean results:
- Use black acrylic paint or paint markers
- Keep lines slightly raised if possible
- Avoid thin or sketchy strokes
Your lines should feel intentional and bold, not hesitant.
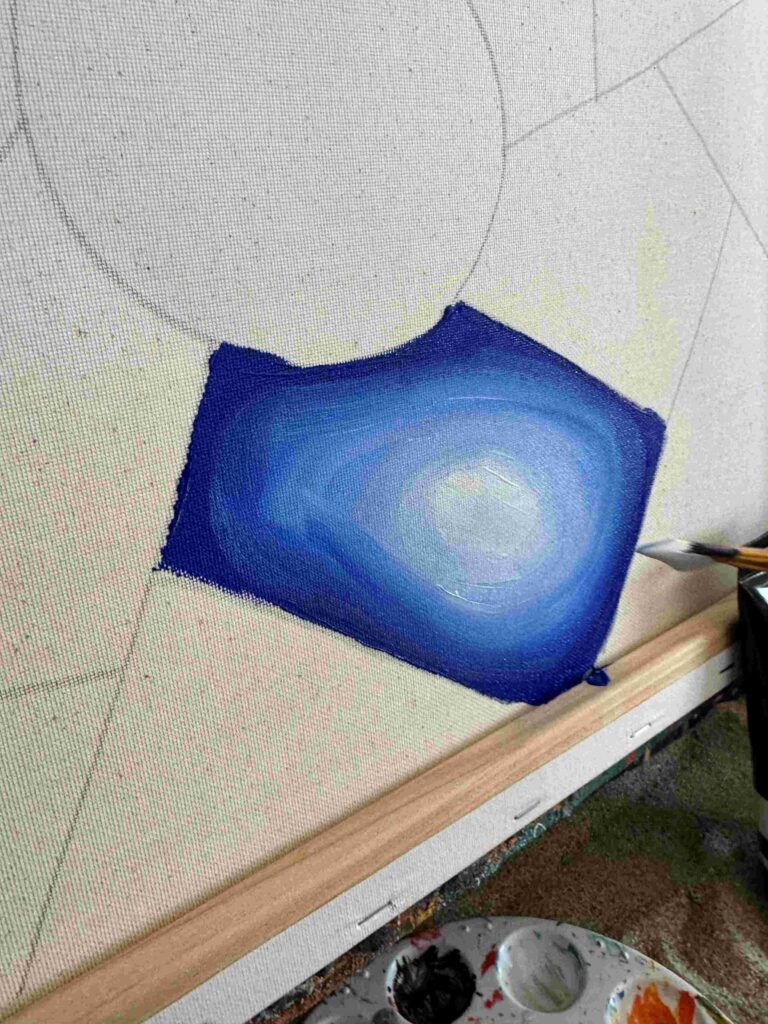
🌈 Layer Color for a Glowing Effect
Flat color works—but layered color creates magic.
To get that stained glass glow:
- Start with a base color
- Add a slightly lighter tone in the center
- Blend outward softly
This creates a light source effect inside each shape.
[INSERT IMAGE: Your painting showing color glow effect]
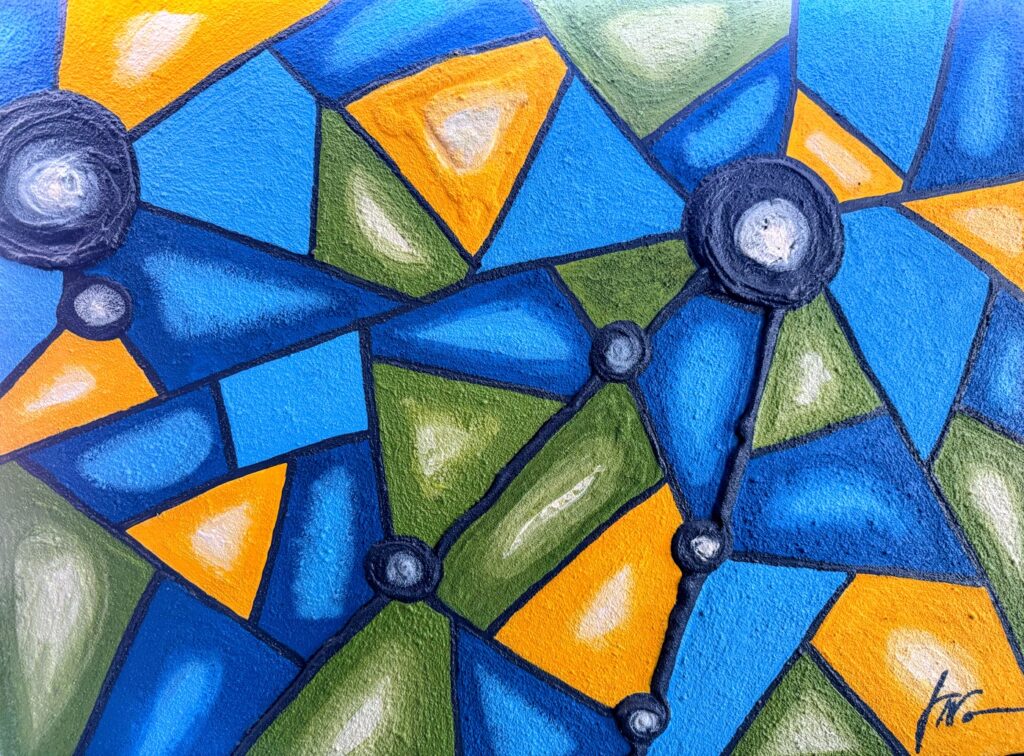
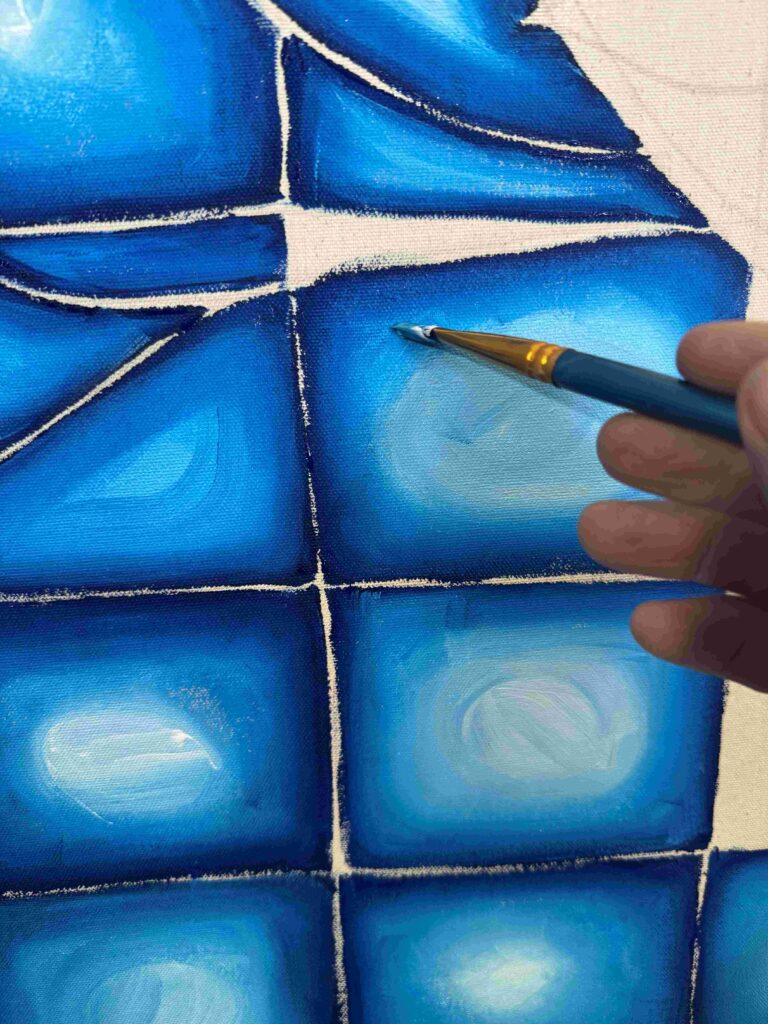
💡 Keep the Center Brighter
Real stained glass often appears brighter in the middle of each section.
You can recreate this by:
- Adding a soft highlight to the center
- Avoiding heavy paint buildup in that area
- Letting the color “breathe”
This subtle trick makes a huge difference.
🎨 Choose the Right Color Combinations
Color choice can make or break this style.
Strong stained glass paintings often use:
- High contrast colors
- Complementary tones
- Deep outlines to separate them
Avoid muddy mixes—keep colors clean and vibrant.
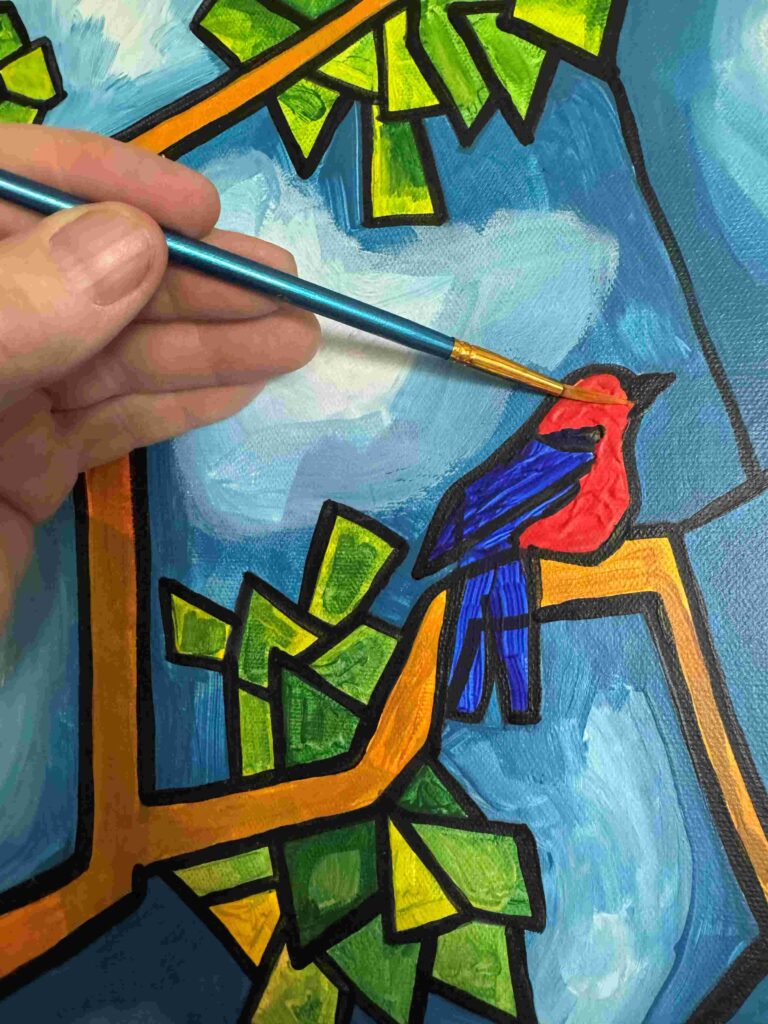
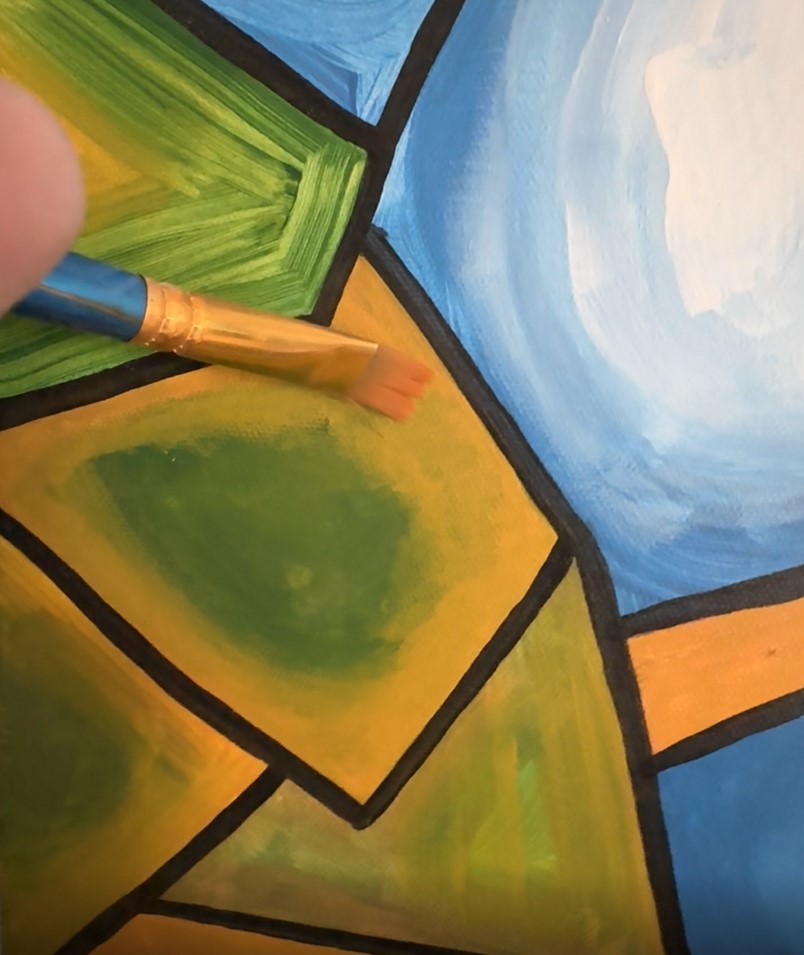
🧩 Build Your Painting in Sections
Don’t try to finish everything at once.
Work one section at a time:
- Outline the shape
- Fill with base color
- Add highlight
- Move to the next section
This keeps your painting clean and controlled.
[INSERT IMAGE: Step-by-step progression of your work]
⚠️ Common Mistakes to Avoid
- Lines that are too thin
- Colors that blend into each other
- Overworking the paint
- Not planning shapes ahead of time
Keeping things simple is what makes this style powerful.
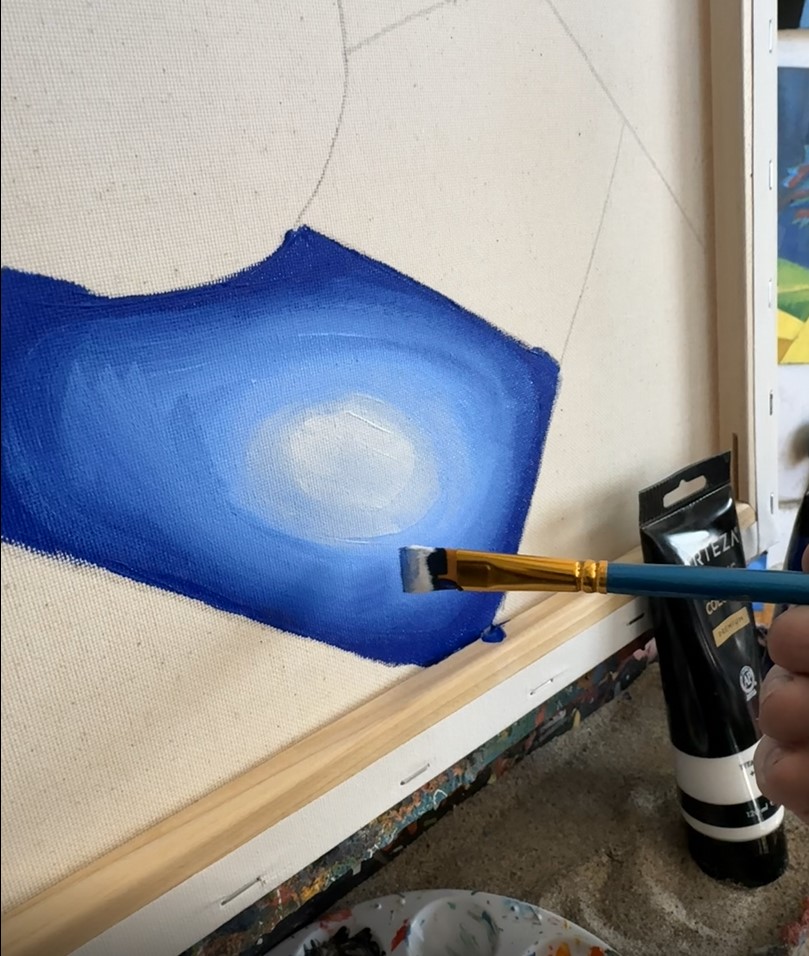
Step-by-Step Glow Method
- Start with a solid base color
- Add a slightly lighter tone toward the center
- Blend gently outward
- Keep edges darker for contrast
This creates the glowing stained glass effect.
🎯 Final Thoughts
Stained glass acrylic painting is one of the most beginner-friendly styles—but also one of the most visually striking.
With just a few adjustments—strong lines, glowing color, and simple shapes—you can turn an ordinary painting into something that really stands out.
🎨 See More on Artist Corner
Want more step-by-step tutorials and real painting examples?
👉 Visit Artist Corner:
https://guywann.xyz
You’ll find:
- Full painting guides
- Canvas building tutorials
- Tools and materials I personally use
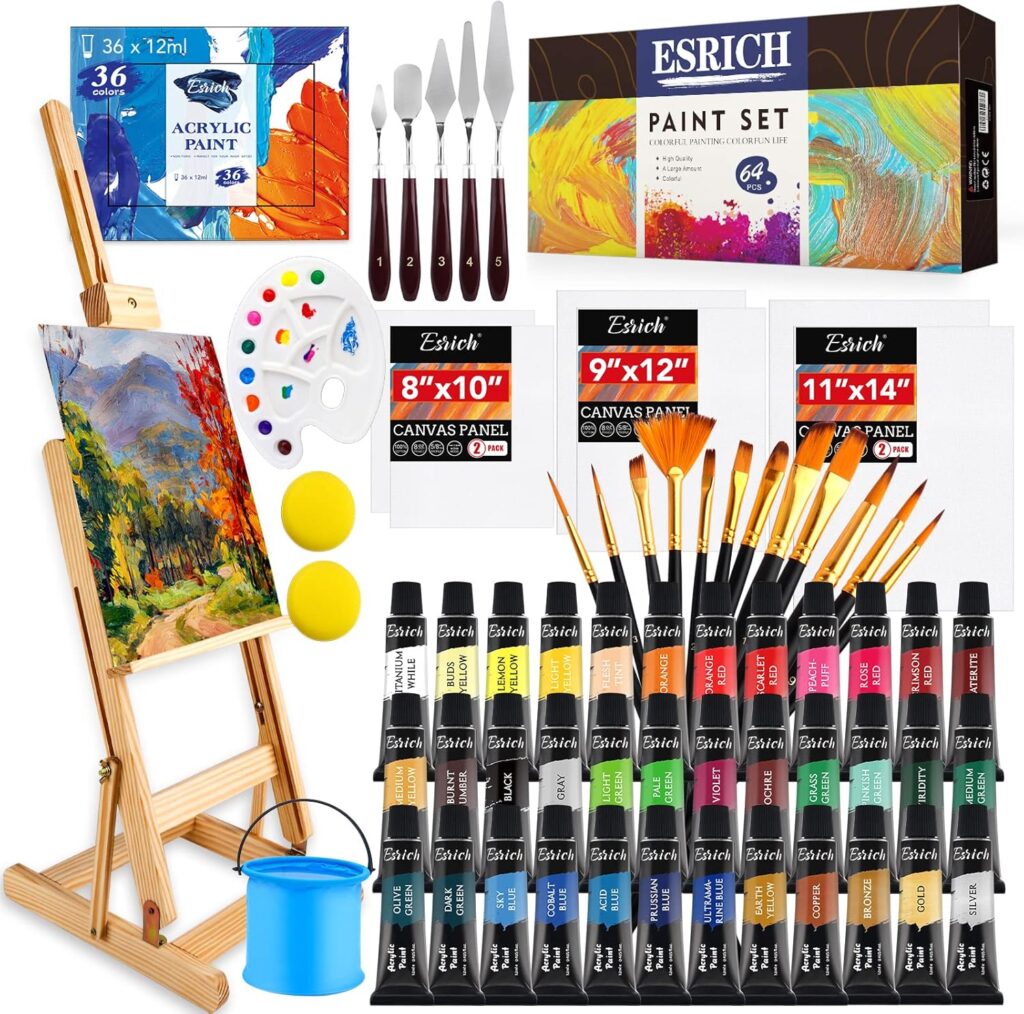
💰 (Optional Monetization Section)
Recommended Tools for This Style:
FAQs
How do you make acrylic paint look like stained glass?
Use strong black outlines and layer color with lighter centers to create a glow.
Why does my painting look flat?
It usually means there’s no contrast between light and dark areas.
Do I need special paint for this effect?
No, standard acrylic paint works great.
Related Articles
- Introduction to Stained Glass Acrylic Painting
- How to Turn Any Photo into a Stained Glass Painting
- Small Canvas Painting Ideas
More Tutorials on Artist Corner
This post contains affiliate links.