

This post contains affiliate links.
If you’ve ever wanted to turn a photo into a stained glass–style painting, you might think you need strong drawing skills.
You don’t.
In fact, one of the fastest ways to create this style is by skipping detailed drawing altogether and focusing on breaking the image into simple shapes.
“To turn a photo into a stained glass painting, simplify the image into bold shapes, outline them, and fill with layered acrylic color.”
This is the same approach I use to paint faster without getting stuck in the drawing phase.
📸 Step One: Choose the Right Photo
Not every photo works well for this style.
Look for images that have:
- Strong lighting (light vs dark areas)
- Clear subject (tree, bird, landscape, etc.)
- Simple composition
Avoid busy images with too much detail.
👉 The goal is not realism — it’s simplification.
[INSERT IMAGE: Original reference photo]
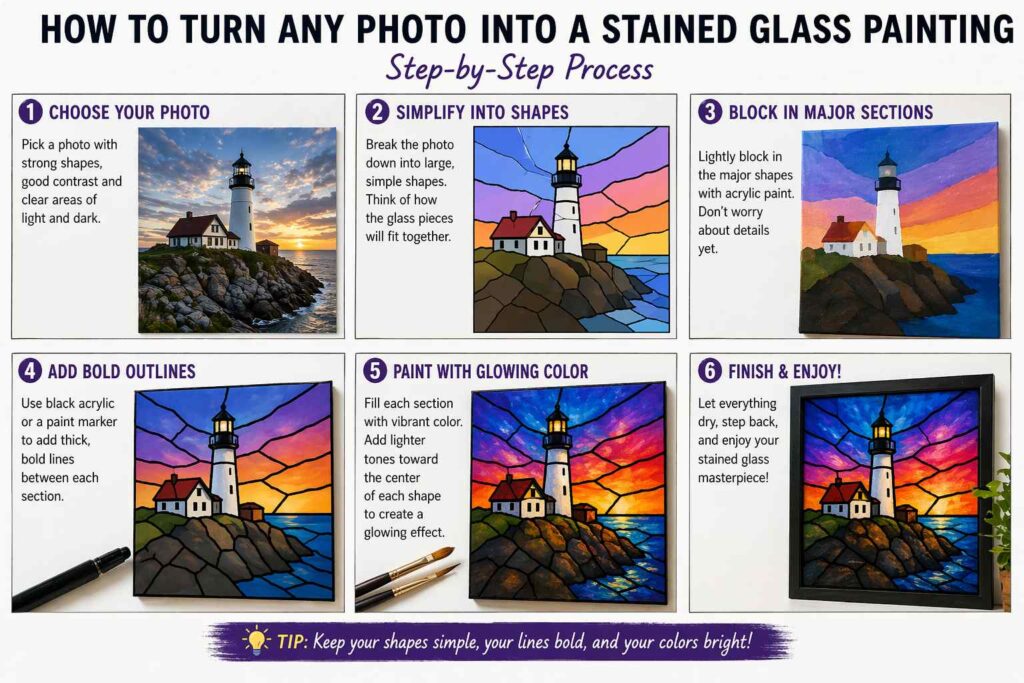
✂️ Step Two: Simplify Into Shapes (This is the KEY)
Instead of drawing every detail, break the photo into:
- Large color sections
- Basic shapes
- Clear separations
Think:
👉 “Where would the glass pieces be?”
You are not copying the photo — you are translating it into stained glass design.
[INSERT IMAGE: Your painting showing simplified shapes]
⚡ Step Three: Skip the Detailed Drawing
This is where your method shines.
Instead of fully sketching:
- Lightly block in major shapes
- Or draw directly with paint
Many artists get stuck trying to draw perfectly.
You don’t need that.
👉 Focus on placement, not perfection.
🖤 Step Four: Add Bold Outline (The Game Changer)
Stained glass style comes from the leading lines.
Use:
- Black acrylic paint
- Paint marker
- Or a liner brush
Apply thick, confident lines to separate each shape.
These lines define the entire painting.
[INSERT IMAGE: Close-up of your line work]
🌈 Step Five: Fill with Color (Make It Glow)
Now bring it to life.
For each section:
- Lay down a base color
- Add a lighter tone toward the center
- Blend slightly
This creates a glowing glass effect.
Acrylic paint works great here because it dries fast and layers easily
[INSERT IMAGE: Your painting showing color glow]
💡 Step Six: Keep It Bold, Not Perfect
This style works because it’s:
- Graphic
- Bold
- Simplified
Don’t overblend.
Don’t overwork.
👉 Let the shapes and lines do the work.
⚠️ Common Mistakes (Avoid These)
- Trying to copy every detail from the photo
- Making lines too thin
- Using muddy colors
- Overcomplicating shapes
Simple = better in this style.
🎯 Final Thoughts
Turning a photo into a stained glass painting isn’t about drawing skill — it’s about seeing shapes and simplifying.
Once you understand that, everything gets easier:
- Faster painting
- Cleaner results
- More consistent style
🎨 Want to Paint Faster Without Getting Stuck?
If drawing slows you down, I break this process down even further here:
👉 https://guywann.xyz/how-i-started-painting-faster-without-getting-stuck-on-the-drawing/
🎨 See More on Artist Corner
For more tutorials, tools, and step-by-step guides:
Related Articles:
- Introduction to Stained Glass Acrylic Painting
- Stained Glass Acrylic Painting Techniques
- Small Canvas Painting Ideas
FAQs
Can you turn a photo into a stained glass painting?
Yes, by simplifying shapes and using bold outlines with acrylic paint.
Do you need to draw first?
No, you can block in shapes directly and paint without detailed drawing.
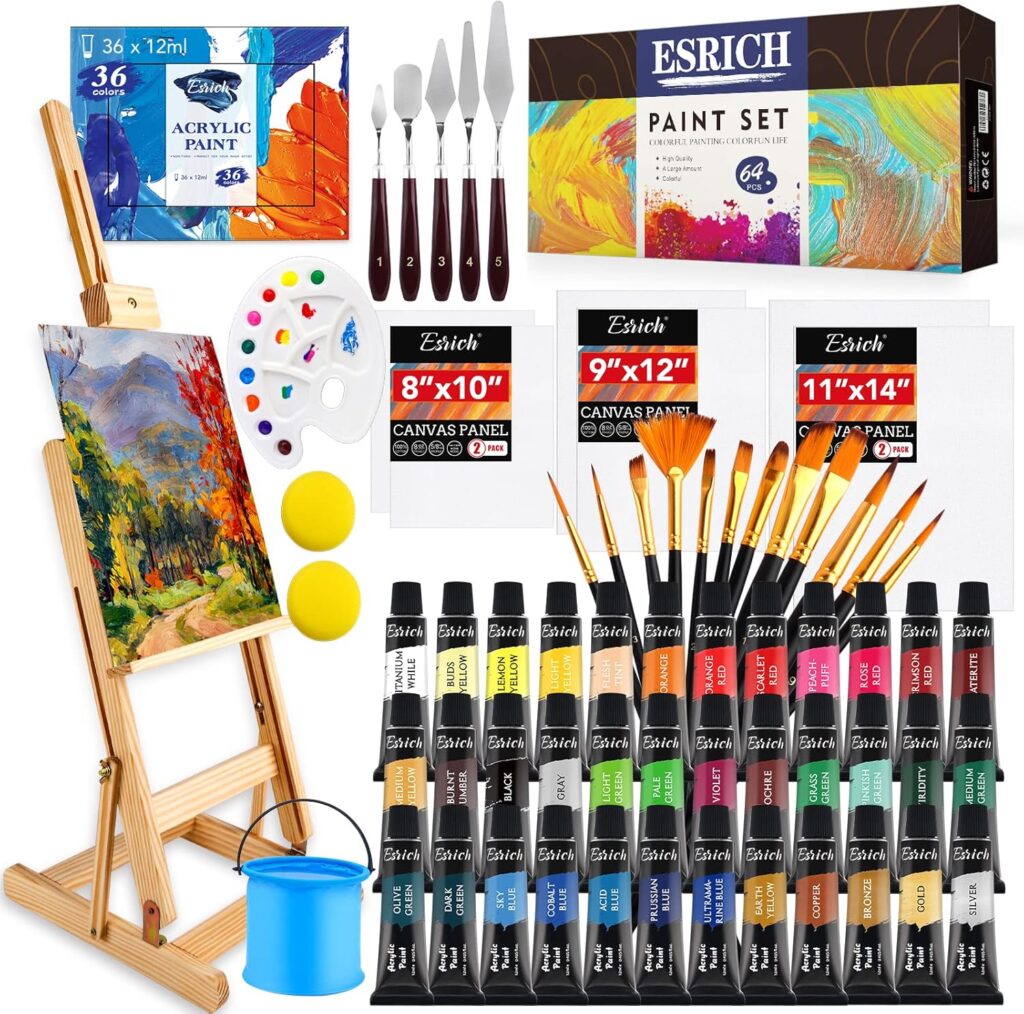
What paint works best?
Acrylic paint works best because it dries fast and layers easily.
Want to Paint Faster?
If drawing slows you down, read this:
👉 https://guywann.xyz/how-i-started-painting-faster-without-getting-stuck-on-the-drawing/
This post contains affiliate links.