
This post contains affiliate links.
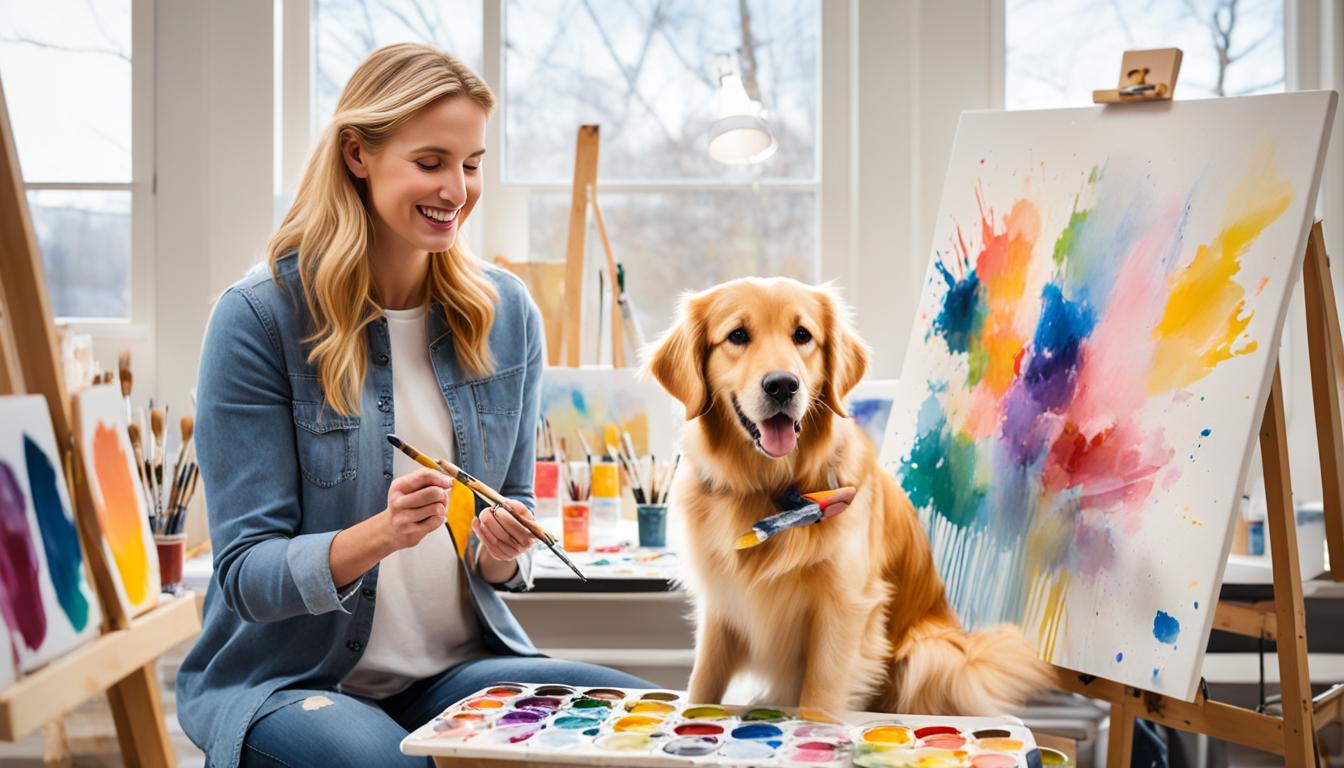
There’s something truly magical about capturing the essence of our beloved pets on canvas. The way their eyes sparkle, the tilt of their head, the wag of their tail – these are the moments and memories that we want to preserve forever. If you’ve ever wished to create a stunning acrylic painting of your dog, this article is for you. Whether you’re an aspiring artist or simply a dog lover with a desire to express your creativity, we will guide you through the process step-by-step.
Just imagine the joy and satisfaction you’ll feel as you see your pet come to life on the canvas – every brushstroke capturing their unique personality and spirit. With our comprehensive acrylic dog painting guide, we’ll provide you with the techniques, tips, and inspiration you need to create a masterpiece that beautifully reflects the bond between you and your furry friend.
So, grab your paintbrushes, clear your mind, and let’s embark on this artistic journey together. Whether you’re a beginner or an experienced artist, painting a realistic acrylic portrait of your dog is within your reach – and we’re here to show you how.
Key Takeaways:
- Learn step-by-step how to paint a realistic acrylic portrait of your dog.
- Discover essential materials and techniques for painting your pet with acrylics.
- Master the art of sketching your dog’s portrait to capture their unique features.
- Explore various painting techniques to bring their fur to life.
- Add the finishing touches that will make your acrylic dog painting truly remarkable.
Gathering the Materials
Before you start painting, it’s important to gather all the materials you’ll need. In this section, we’ll outline the essential supplies required for painting your pet with acrylics and provide a step-by-step guide on how to prepare your canvas for the painting process.
Essential Supplies
Here are the key materials you’ll need for painting your pet with acrylics:
- Canvas or canvas board
- Acrylic paints
- Paintbrushes
- Palette or palette paper
- Container for water
- Paper towels or rag
- Pencil or charcoal
- Eraser
- Reference photo of your pet
Preparing the Canvas
Before you can start painting, you’ll need to prepare your canvas. Follow these steps:
- Clean the surface of the canvas to remove any dust or debris.
- If using a canvas board, ensure it is properly secured to a flat surface or easel.
- Prime the canvas with a layer of gesso to create a smooth painting surface.
- Once the gesso is dry, lightly sand the surface to remove any rough texture.
- Use a soft brush or cloth to remove any loose particles from sanding.
Now that you have gathered your materials and prepared your canvas, you’re ready to move on to the next section, where we’ll guide you through sketching your dog’s portrait. Remember, patience and practice are key to achieving a beautiful acrylic painting of your beloved pet!
Sketching Your Dog’s Portrait
The first step in creating your acrylic dog painting is to sketch your dog’s portrait on canvas. This crucial step sets the foundation for capturing your furry friend’s unique features and personality.
When sketching, it’s important to pay attention to proportions and shapes to ensure an accurate representation of your dog. Here are some techniques to guide you:
- Proportions: Start by observing your dog’s overall proportions. Use light, loose lines to mark the general shape of the head and body.
- Adding Details: As you become more familiar with your subject, begin adding specific details. Note the size and shape of the eyes, the position and shape of the ears, and any distinctive facial markings or fur patterns.
- Expression: Try to capture your dog’s unique expression. Pay attention to the position of the eyebrows, the curve of the mouth, and any other facial features that contribute to their individuality.
Remember, the sketch doesn’t need to be perfect at this stage. It serves as a guideline for the painting process, helping you establish the structure and overall composition of your artwork. Take your time, and don’t be afraid to make adjustments as needed.

“The foundation of a great dog painting lies in the accuracy of the sketch. Take your time to study your furry friend’s features and capture their essence on canvas.”
Painting Techniques and Tips
Now that you have your sketch in place, it’s time to bring your acrylic dog painting to life with color and texture. In this section, we’ll explore various techniques to help you create realistic fur, texture, and depth that truly capture the essence of your furry companion.
Color Mixing and Blending
One key aspect of acrylic dog painting is mastering color mixing and blending. By combining different colors, you can achieve a wide range of hues and shades to accurately depict your dog’s fur. Experiment with mixing primary colors like red, blue, and yellow to create secondary colors that match your dog’s coat. Use a palette knife or a brush to blend the colors seamlessly for a smooth transition.
Creating Texture and Depth
Adding texture to your acrylic dog painting can make it more realistic and visually engaging. Use techniques such as dry brushing, stippling, or layering to create the appearance of fur. Vary the brushstrokes and direction to mimic the natural flow and patterns of your dog’s hair. Gradually build up layers of paint to achieve depth and dimension in your artwork.
Highlights and Shadows
Highlights and shadows add depth and dimension to your acrylic dog painting, bringing it to life on the canvas. Observe your dog in different lighting conditions to identify areas where light hits the fur and creates highlights, as well as areas that are shaded and create shadows. Use lighter tones for highlights and darker tones for shadows, applying them strategically to enhance the realism of your artwork.
Finishing Touches
Once you have painted the fur using the techniques mentioned above, it’s time to add the finishing touches to your acrylic dog painting. Pay attention to details such as the eyes, nose, and mouth, as they play a crucial role in capturing your dog’s likeness. Use smaller brushes to refine the features and achieve intricate details. Take your time and strive for accuracy in capturing the unique characteristics of your furry friend.
| Technique | Description |
|---|---|
| Color Mixing and Blending | Combine different colors to create a wide range of hues and blend them seamlessly for a smooth transition. |
| Creating Texture and Depth | Use techniques like dry brushing, stippling, or layering to mimic the appearance of fur and add dimension to your painting. |
| Highlights and Shadows | Add highlights and shadows to create depth and realism, paying attention to the areas where light hits and creates highlights, as well as shaded areas that create shadows. |
| Finishing Touches | Refine the details of your dog’s features, such as the eyes, nose, and mouth, using smaller brushes and striving for accuracy. |
With these acrylic dog painting techniques and tips, you’ll be able to create a stunning and lifelike portrayal of your furry companion. Remember to practice, experiment, and enjoy the process of capturing the unique personality of your dog on canvas.

Adding the Finishing Touches
In this section, we’ll focus on the final touches that will bring your acrylic dog painting to life. After putting in hours of hard work and dedication, it’s time to refine the details, adjust the colors, and add those special elements that will enhance the overall composition of your artwork.
Firstly, take a step back and evaluate your painting. Look closely at the smaller details and ensure that they accurately capture the essence of your furry friend. It’s these details that will make your painting truly unique and lifelike.
Next, examine the color palette you’ve used so far. Are the colors true to your dog’s coat? If necessary, make any adjustments to ensure a more accurate representation. Adding subtle variations in colors can bring depth and realism to your painting.
Now comes the fun part – adding those extra elements that will make your painting shine. Consider including a favorite toy, a collar, or even a background that represents a memorable place. These additional elements can add a personal touch and further showcase the personality of your dog.
Refining the Details
Take a fine brush and carefully refine the finer details of your dog’s features. Pay close attention to their eyes, nose, and mouth. These areas are often the focal point of the painting and should accurately reflect the unique traits of your furry companion.
Pro Tip: When painting the eyes, try using a small brush or even a toothpick to capture the intricate details and bring the eyes to life.
Sealing and Protecting Your Artwork
Once you’re satisfied with the final touches, it’s crucial to seal and protect your artwork for long-lasting beauty. Applying a protective varnish will not only enhance the colors but also shield your painting from dust, moisture, and scratches.
Make sure your painting is completely dry before applying the varnish. Use a soft brush and apply the varnish evenly, following the manufacturer’s instructions. Allow the varnish to dry thoroughly before displaying your masterpiece.
Now, step back and admire your acrylic dog painting. You’ve successfully captured the essence and personality of your beloved pet, creating a heartfelt piece of art that celebrates the bond between you.

Conclusion
Congratulations on completing this comprehensive guide on how to paint a realistic acrylic portrait of your beloved dog. Throughout this tutorial, we have provided you with step-by-step instructions, valuable techniques, and useful tips to help you capture the essence and personality of your furry friend on canvas.
Now, armed with the knowledge and skills you’ve gained, it’s time to embark on your own artistic journey. Pick up your brushes, immerse yourself in the world of colors, and unleash your creativity to create a beautiful masterpiece that pays tribute to the special bond you share with your canine companion.
Remember to be patient with yourself as you paint; Rome wasn’t built in a day, and neither is a masterpiece. Allow yourself the freedom to experiment and explore different styles and techniques. Embrace the imperfections and celebrate the unique expression of your dog’s individuality.
As you put the finishing touches on your acrylic dog painting, take a step back and admire the remarkable work of art you have created. Your dedication and passion for capturing your dog’s likeness deserve recognition. Cherish your painting as a timeless symbol of the joy and love that dogs bring into our lives.
FAQ
How do I paint an acrylic painting of my dog?
What materials do I need to paint my pet with acrylics?
How do I sketch my dog’s portrait on canvas?
What techniques can I use to paint fur with acrylics?
How can I add the finishing touches to my acrylic dog painting?
Paint a Portrait: How to Do a Painting of Your Dog Tail Wagging Hub
This post contains affiliate links.
[…] Acrylic Dog Painting Guide: Paint Your Pet Easily Artist Corner […]