
This post contains affiliate links.
Have you ever wished to capture the essence of your beloved cat in a beautiful painting? To preserve their unique personality and the special bond you share on canvas?
There’s something truly magical about immortalizing our furry friends through art. Their playful glances, graceful movements, and comforting presence make our hearts swell with love and joy. And what better way to celebrate the beauty of your feline companion than by creating an acrylic painting that captures their spirit?
Whether you’re an experienced artist or a beginner, this step-by-step guide will help you bring your cat to life on the canvas. With the right techniques and a little bit of practice, you’ll be able to create a stunning acrylic painting that reflects the individuality and charm of your cat.
So, let your creativity roam free and prepare to embark on a heartfelt artistic journey. Get ready to paint a cat portrait with acrylics that will forever be treasured and cherished.
Key Takeaways:
- Follow this step-by-step guide to create a realistic cat portrait using acrylic paints.
- Gather all the necessary materials, including acrylic paints, brushes, canvas, and a reference photo of your cat.
- Prepare your workspace by setting up your easel, organizing your paints, and ensuring proper lighting.
- Sketch the outline of your cat on the canvas using a reference photo.
- Mix and apply colors to bring your cat portrait to life, capturing the textures and fur.
Gather Your Materials
Before starting your cat painting, it’s important to gather all the necessary materials. Here’s a list of tools and supplies you’ll need:
- Acrylic Paints: Choose a variety of colors that match your cat’s fur and features. Opt for artist-grade acrylic paints for better color saturation and longevity.
- Brushes: Select a range of brushes in different sizes and shapes to achieve different textures and details in your painting. Round brushes are great for small details, while flat brushes work well for larger areas.
- Canvas: Use a canvas or canvas board as the base for your painting. Consider the size that best suits your vision and the space where you plan to display the artwork.
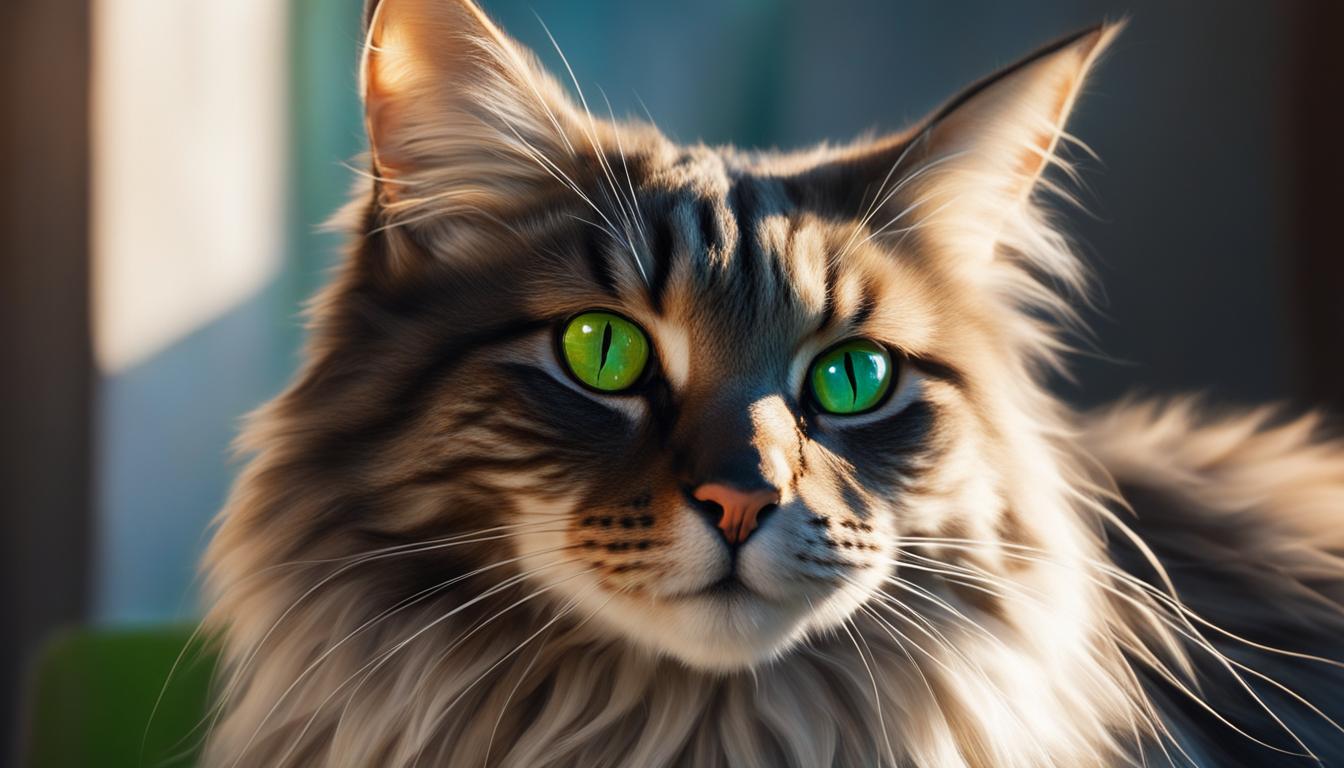
- Reference Photo: Find a clear and high-resolution reference photo of your cat that captures their unique features and personality. You can either take your own photo or search for one online.
- Palette: Use a palette or palette paper to mix and blend your acrylic paints. Ensure it’s large enough to accommodate the colors you’ll be working with.
- Easel: Set up an easel or find a sturdy surface to place your canvas on. This will allow you to work comfortably and at an angle that facilitates better brush control.
- Water and Rags: Keep a container of water nearby to rinse your brushes and a few rags or paper towels to blot excess paint and clean your brushes.
Exploring Cat Painting Techniques
There are various cat painting techniques you can explore to achieve the desired effect in your portrait. Here are a few popular techniques:
- Layering: Build up layers of paint to create depth and dimension in your cat’s fur. Start with a base layer and gradually add details and highlights.
- Blending: Use blending techniques such as wet-on-wet or dry brushing to seamlessly blend colors together and create smooth transitions in your cat’s coat.
- Texturing: Experiment with different brushstrokes and techniques to capture the unique texture of your cat’s fur. Scrubbing, stippling, and dry brushing can create interesting textures.
- Detailing: Pay attention to the finer details of your cat’s features, such as the eyes, whiskers, and facial expressions. Use precise brushwork and small brushes to achieve realistic details.
By gathering the right materials and exploring different cat painting techniques, you’ll be well-prepared to embark on your cat portrait journey. Next, we’ll guide you through the process of preparing your workspace to ensure a comfortable and efficient painting environment.
Prepare Your Workspace
Creating a cat portrait is an exciting endeavor that requires a clean and organized workspace. By setting up your easel, organizing your paints, and ensuring proper lighting, you’ll be ready to unleash your creativity and bring your cat painting to life. Here’s a step-by-step guide on how to prepare your workspace for your cat painting journey.
1. Set Up Your Easel
The first step in preparing your workspace is to set up your easel. Find a comfortable and well-lit area where you can place your easel. Ensure that it is stable and adjusted to a height that allows you to paint comfortably.
2. Organize Your Paints
Having your paints organized and easily accessible will save you time and make your painting process smoother. Arrange your acrylic paints in a way that makes sense to you, whether it’s by color or in accordance with a paint chart. Use a palette or a palette paper to squeeze out the necessary paint colors for your cat portrait.
3. Ensure Proper Lighting
Good lighting is crucial for accurately perceiving colors and details in your cat portrait. Position your easel near a window or use a daylight lamp to mimic natural lighting conditions. Avoid harsh or dim lighting as it may affect your ability to see accurate colors and details in your painting.
4. Acrylic Painting Tips for Cat Portraits
As you prepare your workspace, here are some helpful tips to keep in mind for painting a cat portrait with acrylics:
- Start with a rough sketch of your cat’s features to establish proportions and composition.
- Layer your paints, starting with lighter colors and gradually adding darker tones to create depth and dimension.
- Experiment with brush strokes to capture the textures and fur of your cat. Try thin lines for whiskers and short, feathery strokes for fur.
- Blend colors smoothly by using a dry brush or a water spray bottle to keep the paint surface damp.
- Take breaks and step back to evaluate your painting from a distance, ensuring a balanced composition and accurate proportions.
- Have fun and embrace the creative process. Don’t be afraid to make mistakes and experiment!
Now that your workspace is organized and you have some valuable acrylic painting tips under your belt, you’re ready to embark on your cat painting adventure. In the next section, we’ll dive into sketching the outline of your cat on the canvas, setting the foundation for your beautiful cat portrait.
Sketch the Outline
Before applying colors, it’s essential to sketch the outline of your cat on the canvas. A well-executed outline sets the foundation for the rest of your painting, capturing your cat’s unique features and proportions. In this section, we will guide you through the process of creating an accurate outline using a reference photo and transferring it onto the canvas.
Gather Your Reference Photo
Start by selecting a clear and high-resolution photo of your pet cat. Ensure that the photo captures your cat’s pose and expression as you envision for your painting. Having a good reference photo will greatly assist you in creating an accurate sketch.
Transferring the Sketch
To transfer the sketch onto the canvas, you can utilize various techniques such as the grid method or freehand sketching. The grid method involves dividing both the reference photo and the canvas into a grid, allowing you to accurately transfer the proportions and details. Alternatively, freehand sketching involves studying the reference photo and carefully reproducing the lines and shapes onto the canvas without the aid of a grid.
Once you have selected the method that suits your preference, take your time to sketch the basic shapes and contours of your cat’s face, body, and any other prominent features. Pay attention to proportions, ensuring that the size and placement of each element accurately represent your cat’s unique characteristics.
While sketching, you can use light lines or use an erasable pencil to make adjustments as needed. Take your time to refine the details and capture the essence of your cat’s appearance.
Composition and Placement
In addition to capturing the accurate features of your cat, consider the composition and placement of your cat within the canvas. Think about the positioning of your cat’s body, head, and any additional elements you may want to include. The composition should be visually appealing and draw attention to your cat’s face and expression.
Be mindful of negative space and balance within the composition. Negative space refers to the areas surrounding your cat, which can enhance the overall impact of your painting.
Tip: Use light, sketchy lines for your initial outline to allow easy adjustments and modifications as you progress with your painting.
Once you are satisfied with your sketch, gently erase any unnecessary lines and make any final adjustments before proceeding to apply colors.

| Benefit | Explanation |
|---|---|
| Accurate representation | A well-executed outline ensures that your cat’s features and proportions are accurately represented in your painting. It lays the foundation for a realistic and lifelike depiction of your pet. |
| Proper composition | Carefully considering the composition and placement of your cat within the canvas creates a visually appealing painting that highlights your cat’s unique features and expression. |
| Easy adjustments | Using light, sketchy lines allows for easy modifications and adjustments throughout the painting process, ensuring a satisfying end result. |
Mix and Apply Colors
Now it’s time to bring your cat portrait to life with colors. In this section, we will guide you through the process of mixing acrylic paints to achieve the desired colors and shades. By mastering the art of color mixing, you can create a realistic and captivating depiction of your feline friend.
Choosing the Right Colors
When selecting colors for your cat portrait, it’s essential to observe your reference photo and identify the predominant hues. Look closely at your cat’s fur and note the colors and shades present. Pay attention to the subtle variations and highlights that bring depth and dimension to their coat.
To achieve accurate color representation, start with a basic color palette and gradually mix in additional shades as needed. This will give you more control over the colors and allow you to adjust them as you go.
Creating Desired Colors and Shades
To achieve the desired colors and shades for your cat’s fur, it’s important to understand color mixing techniques. Start by placing small amounts of the primary colors (red, blue, yellow) on your palette. Use a palette knife or brush to mix these colors together, gradually adding white or black to create different shades and values.
Experiment with different ratios and combinations of colors to achieve the closest match to your cat’s fur. Remember, mixing paints is a creative process, and there is no one “correct” way to achieve a specific color. Trust your instincts and adjust the mixtures until you are satisfied with the result.
Applying Colors Techniques
When applying the paints to your canvas, consider using a variety of brush strokes and layering techniques to capture the textures and fur of your cat. Start with a base layer of color and gradually build up the details and highlights.
For smooth blending, use a soft brush and lightly feather the colors together. This will help create a seamless transition between shades and avoid harsh lines or edges. If you want to add texture to your cat’s fur, use a dry-brush technique where you apply paint using a partially loaded brush, creating a rougher, textured effect.
Remember to step back and assess your work from a distance to ensure that you are achieving the desired effect. Don’t be afraid to make adjustments and build up the layers gradually to add depth and dimension to your painting.
“The colors you choose and how you apply them will ultimately bring your cat portrait to life. Don’t be afraid to experiment and let your creativity shine through.”
With these acrylic painting tips for a cat portrait, you are now ready to mix and apply colors to create a stunning and lifelike representation of your feline companion.

| Color Mixing Techniques | Application Techniques |
|---|---|
| Gradually blend primary colors with white or black to achieve desired shades. | Use a combination of brush strokes and layering techniques to capture textures and fur. |
| Experiment with different ratios and combinations to achieve accurate color representation. | Feather the colors together for smooth blending or use dry-brush technique for texture. |
| Step back and assess your work to ensure desired effect. | Build up layers gradually to add depth and dimension. |
Add Details and Highlights
To make your cat portrait look more realistic, it’s important to add details and highlights. These finer touches will bring depth and dimension to your painting, capturing the essence of your feline friend. Here are some tips on how to add those exquisite details and highlights to your cat portrait:
Add Fine Details
When it comes to capturing the unique features of your cat, paying attention to the finer details is essential. Use a small brush and thin paint to meticulously recreate the intricate patterns of your cat’s fur. Focus on areas such as the whiskers, eyes, and nose to bring out their distinct characteristics. Take your time with these details, as they will truly make your cat portrait come to life.
Create Texture for Realistic Fur
To give your cat portrait a realistic look, it’s important to convey the texture of the fur. Experiment with different brush strokes and layering techniques to capture the softness and fluffiness of your cat’s coat. Use a combination of short, quick strokes and longer, sweeping strokes to imitate the direction and flow of the fur. Remember to vary the colors and shades to add depth and dimension to the fur strands.

Highlights and Reflections
Highlights and reflections play a crucial role in making your cat portrait more lifelike. Consider the light source in your reference photo and use lighter shades of paint to create highlights on areas where the light hits the fur. Additionally, incorporate subtle reflections in the cat’s eyes to bring a sense of liveliness and sparkle. Be mindful of the opacity of the paint and apply it sparingly to achieve a natural and convincing effect.
“Adding delicate details and highlights is the key to transforming your cat portrait into a masterpiece. Take your time, study your subject, and let your artistic intuition guide you.”
By incorporating these techniques into your cat portrait, you’ll be able to capture the essence of your furry companion and create a truly stunning acrylic painting. Remember to observe and study your subject, allowing your creativity to shine through in every stroke. With patience and practice, you’ll be able to create a cat portrait that truly reflects the unique beauty and personality of your beloved feline friend.
| Key Tips | Techniques for Realistic Cat Portraits |
|---|---|
| Pay attention to fine details | Use a small brush and thin paint to meticulously recreate important features like whiskers, eyes, and nose |
| Create texture for realistic fur | Experiment with brush strokes and layering techniques, imitating the softness and flow of your cat’s coat |
| Add highlights and reflections | Consider the light source in your reference photo and incorporate lighter shades for highlights and reflections in the eyes |
Final Touches and Finishing
After putting in the hard work of sketching, painting, and adding details, it’s time to add the final touches and bring your cat portrait to completion. In this section, we will guide you through the essential steps to refine your painting and ensure a polished outcome.
Refine the Details
Take a step back and carefully examine your cat portrait. Use a fine brush to refine any delicate features such as whiskers, fur texture, and intricate patterns on your cat’s coat. Pay attention to small details that will bring your painting to life and make it more authentic.
Adjust Colors if Needed
If you feel that certain areas of your cat portrait need adjustments in terms of colors or tones, don’t hesitate to make the necessary changes. Acrylic paints allow for easy color blending and modification. Use thin layers of paint to build up the desired effect and create a harmonious balance of colors throughout your artwork.
Ensure a Smooth and Cohesive Composition
Step back again and evaluate the overall composition of your cat portrait. Make sure that all elements, including the background, foreground, and main subject, work together harmoniously. Adjust any areas that feel disjointed or unbalanced by applying additional layers of paint or blending techniques.
Options for Varnishing and Preserving
Once you are satisfied with your completed cat portrait, it’s important to protect and preserve your artwork. Consider varnishing your painting to add a protective layer that enhances colors and prevents fading. There are different types of varnishes available, such as glossy or matte finishes, depending on your preference.
To further protect your acrylic cat painting, consider framing it behind glass. A well-chosen frame will not only complement your artwork but also shield it from dust, moisture, and other environmental factors that could potentially damage it.
Remember, preserving your cat portrait will allow you to enjoy and showcase your masterpiece for many years to come.
By following these final touches and finishing steps, you can ensure that your cat portrait is a true representation of your feline companion. Take your time, trust your artistic instinct, and let your creativity shine through as you put the finishing touches on your acrylic cat painting.

Conclusion
Painting a cat portrait with acrylics is not only a creative endeavor but also a way to express your love for your feline companion. By following the step-by-step guide and utilizing various techniques, you can create a stunning artwork that captures the essence and personality of your beloved cat.
Throughout the process, gathering the right materials and setting up your workspace are crucial. Having high-quality acrylic paints, a range of brushes, and a reference photo of your cat will help you achieve the desired effect. Creating a dedicated and organized space with proper lighting will enhance your painting experience.
Starting with sketching the outline and then mixing and applying colors, you can bring your cat portrait to life. Don’t be afraid to experiment with different brush strokes and layering techniques to capture the texture and patterns of your cat’s fur. Adding details, highlights, and reflections will give your painting depth and make it more realistic.
Lastly, don’t forget the final touches and finishing steps. Refine the details, adjust the colors if needed, and ensure a balanced composition. Consider varnishing your finished cat portrait to protect it and enhance its longevity.
So, gather your materials, prepare your workspace, and unleash your creativity. Paint a beautiful acrylic portrait of your beloved cat that will be cherished for years to come.
FAQ
How long does it take to complete a cat portrait in acrylic?
How do I choose the right reference photo for my cat portrait?
Can I paint a cat portrait without any prior painting experience?
What type of brushes should I use for painting a cat portrait?
Should I start with an underpainting before adding colors?
How can I capture the fur texture in my cat portrait?
How do I add depth and dimension to my cat portrait?
How should I protect and preserve my finished cat portrait?
Capture Your Cat on Canvas: A Step-by-Step Guide Catnip Meow Hub
This post contains affiliate links.
[…] Paint a Cat Portrait with Acrylics – Step-by-Step Guide Artist Corner […]