
This post contains affiliate links.
Reviving Aged Brushes
Many artists possess a collection of brushes that have significantly deteriorated over time. Perhaps you neglected to clean them after an outdoor painting session, or maybe you hurried through the cleaning process too frequently. Regardless of their dry and crusty condition, we often find it hard to discard these brushes. Fortunately, with a bit of effort, even the most neglected brushes can be rejuvenated for a second life. While they won’t be as pristine as new ones, these revived brushes are ideal for tasks where you’d hesitate to use a brand-new brush.
Under the Ferrule
This restoration technique is suitable only for higher-quality brushes. Such brushes are crafted with long hairs, allowing the ferrule to be trimmed back to remove dried paint and extend the life of worn bristles. In contrast, lower-grade brushes are made with short, trimmed hairs, often supported by a wooden plug for volume. Disassembling the ferrule of a budget brush typically leads to hair loss.
Begin by using a fine metal file to etch a line about 1/8 inch from the ferrule’s top, encircling it completely. You don’t need to file all the way through. Then, use small wire cutters to cut straight down to the etched line. With needle-nose pliers, gently peel away a strip of the ferrule’s metal, coiling it around the plier’s nose, revealing the hardened paint plug. Finally, dull the new sharp edge of the ferrule using the file.
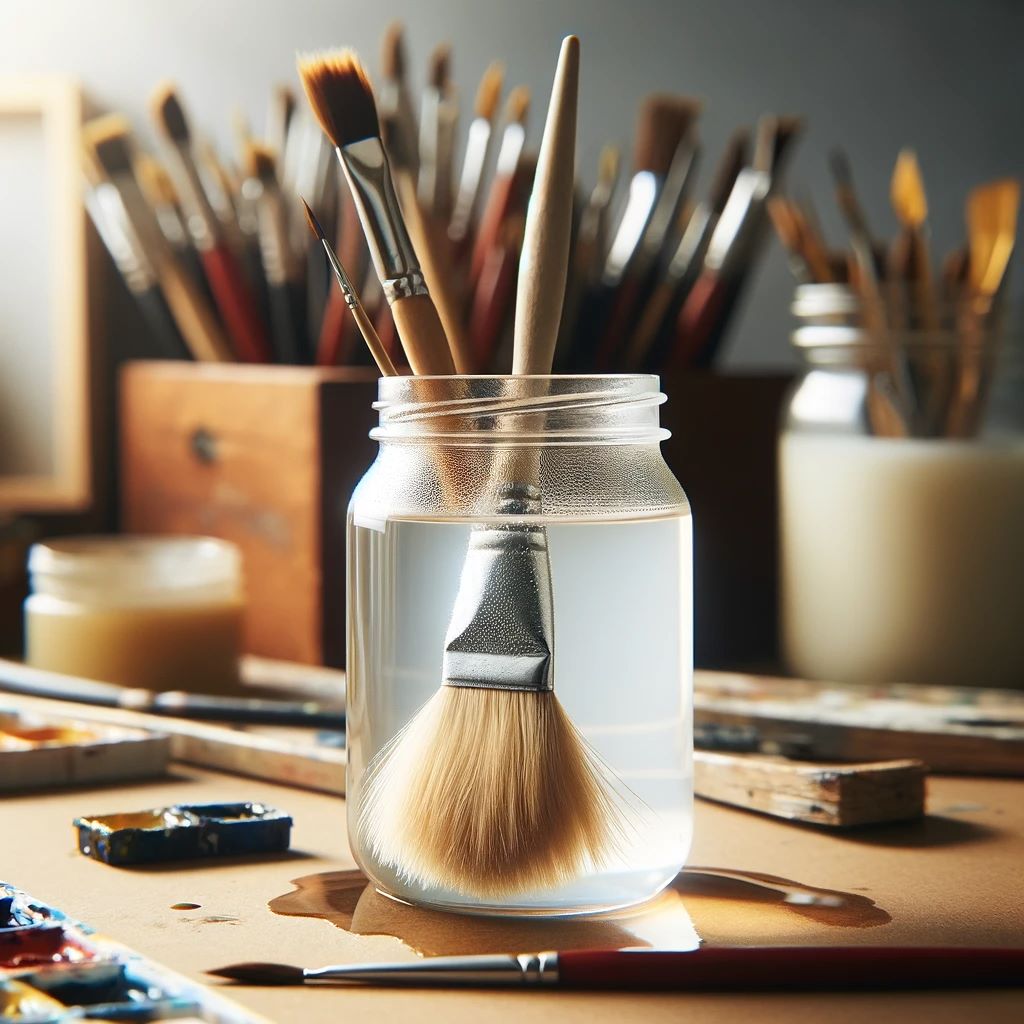
Soak the brush in a cleaning solution capable of softening the dried paint. Depending on the paint’s composition and age, an overnight soak might be necessary. Be careful not to submerge the tuft beyond the ferrule to prevent damaging the handle’s lacquer.
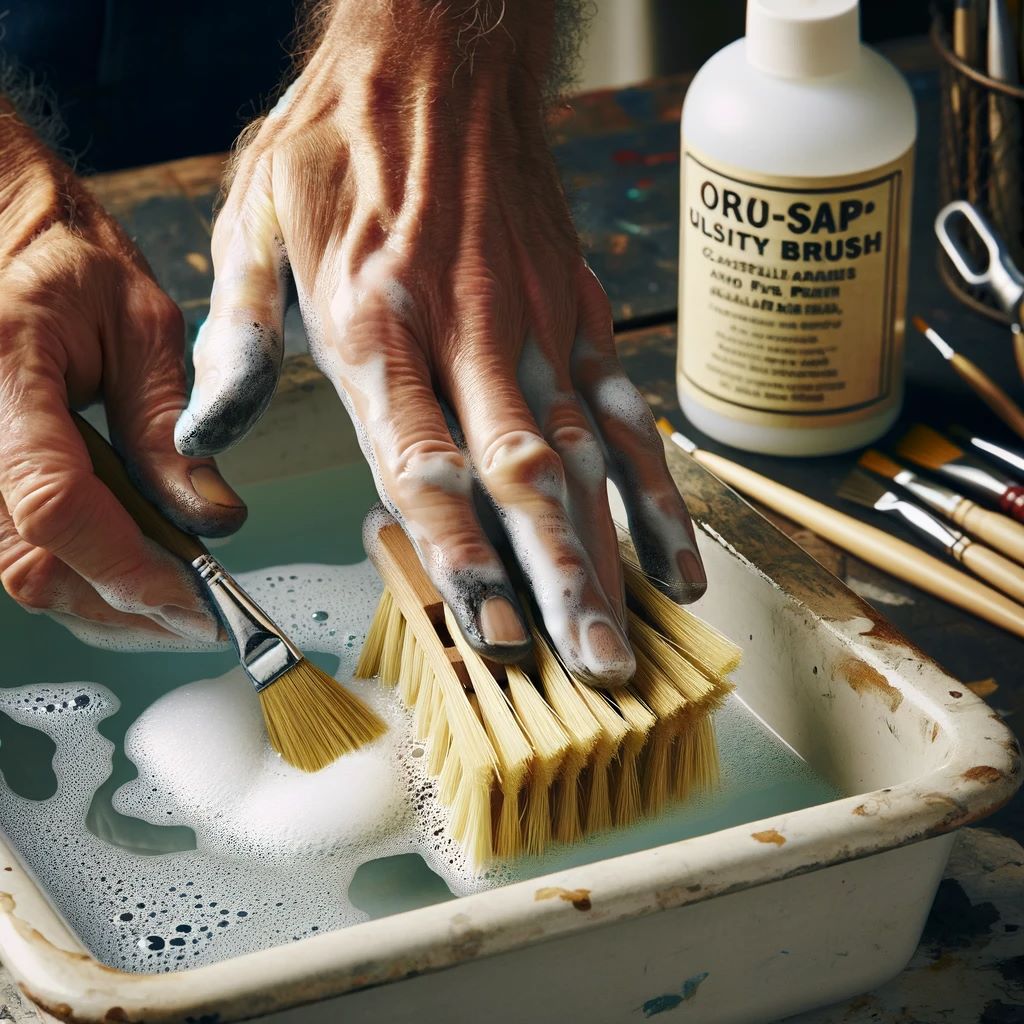
After the paint softens, take the brush out of the solution. Employ a specialized soap for artists’ brushes and a sturdy utility brush to scrub away the softened residue. Repeat the process of lathering, brushing, and rinsing until you remove as much material as possible.
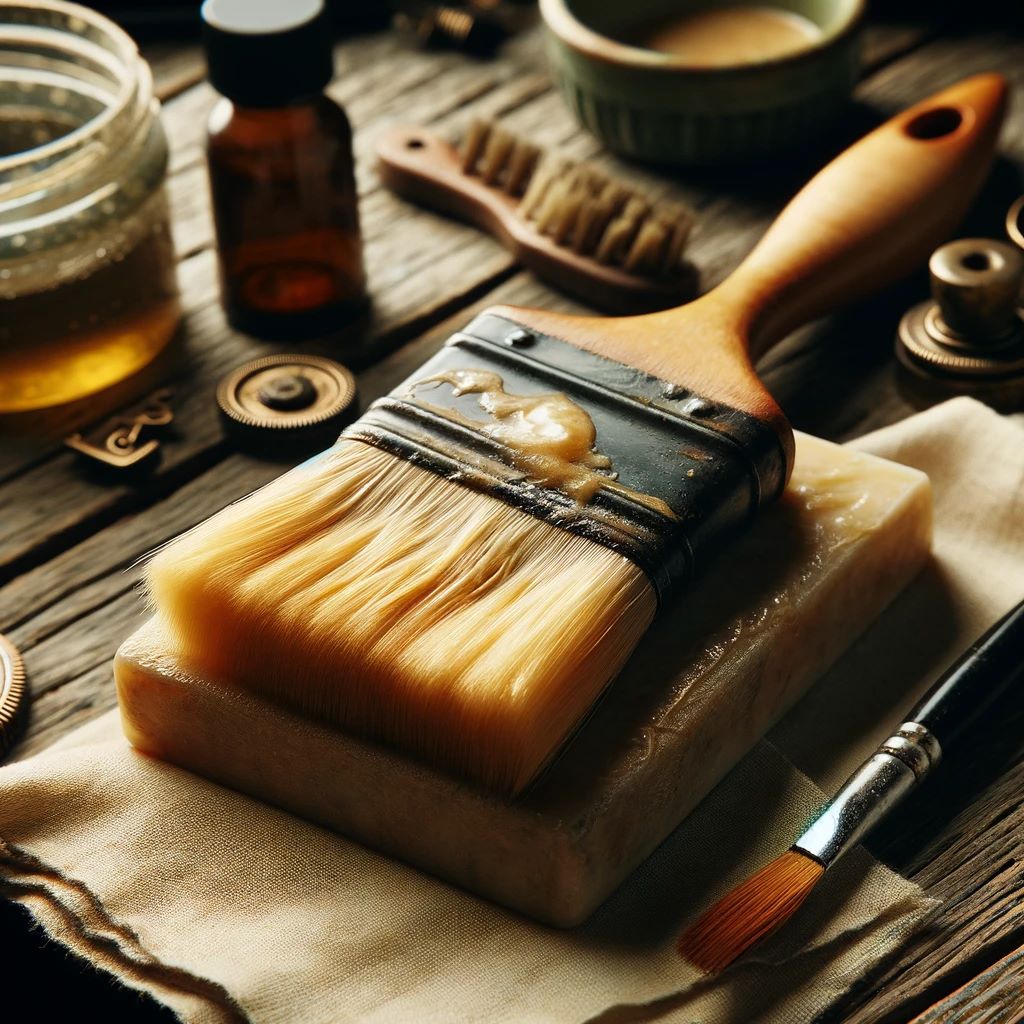
Once the brush is thoroughly cleaned, apply a bit of soap to shape the damp bristles back to their original form, or as close as you can get. Leave the soap in the brush and let it dry lying flat.
Your brush is now rejuvenated and ready for its next chapter! Although it may not match the quality of a new brush, it’s excellent for rough color applications, correcting mistakes on abrasive surfaces, and for any task that might cause wear and tear on a new brush. Plus, you’ve managed to save money by refurbishing an old brush!
More from guywann
Source Links
- https://www.allartschools.com/benefits-of-attending-art-schools/
- https://www.chitkara.edu.in/blogs/the-advantages-of-fine-arts-education-nurturing-creative-excellence/
- https://inventivaworks.com/blog/2022/1/13/five-reasons-to-take-an-art-class-whether-you-are-a-grownup-or-a-child
This post contains affiliate links.