This post contains affiliate links.
As an artist, I’ve always loved acrylic paint. Its vibrant colors and versatility inspire me. But discovering acrylic underpainting techniques took my art to a new level.
Underpainting is key to creating great acrylic paintings. It’s a step that can make your work stand out. This guide will show you how to use acrylic underpainting techniques to improve your art.
Key Takeaways
- Discover the benefits of acrylic underpainting and how it can enhance your artwork
- Learn how to properly prepare your canvas and choose the right colors for your underpainting
- Explore a variety of acrylic underpainting techniques, from alla prima to dry brushing
- Understand the process of layering and glazing over your underpainting for stunning results
- Gain tips and tricks for troubleshooting common issues and preserving the texture of your underpainting
This guide is for all artists, whether you’re just starting or have lots of experience. It will help you unlock acrylic paint’s full potential with underpainting. Let’s start this artistic journey together and see how it changes your art.
Introduction to Acrylic Underpainting
Underpainting is a key technique in acrylic painting. It’s the first layer of paint that guides the entire creative process. This layer sets the composition, values, and colors of the final artwork. Acrylic paints, known for drying fast and being versatile, are perfect for underpainting.
What is Underpainting?
Underpainting is the first layer of paint on the canvas. It’s a base for the rest of the painting. Artists use it to test colors and plan the painting’s overall look. Acrylic underpaintings are thin and let artists build up layers for depth.
Benefits of Underpainting with Acrylics
- Acrylic underpaintings add depth, texture, and light to paintings, making them more vibrant.
- They help artists plan and execute their vision more effectively.
- Acrylic paints dry quickly, letting artists work faster than with oils.
- These underpaintings can be easily changed, giving artists flexibility.
Acrylic underpainting opens up a world of creativity. It brings depth, texture, and light to paintings. This technique is the start of creating a masterpiece.
Preparing the Canvas for Underpainting
Before starting your acrylic underpainting, make sure your canvas is ready. This step is key to a great painting. It helps the paint stick well and lets you set the mood.
Priming the Canvas with Gesso
First, prime the canvas with gesso. Gesso makes the surface smooth and ready for paint. It ensures your colors will pop and last longer. Mix the gesso well and apply thin coats for the best look.
Creating a Colored Ground
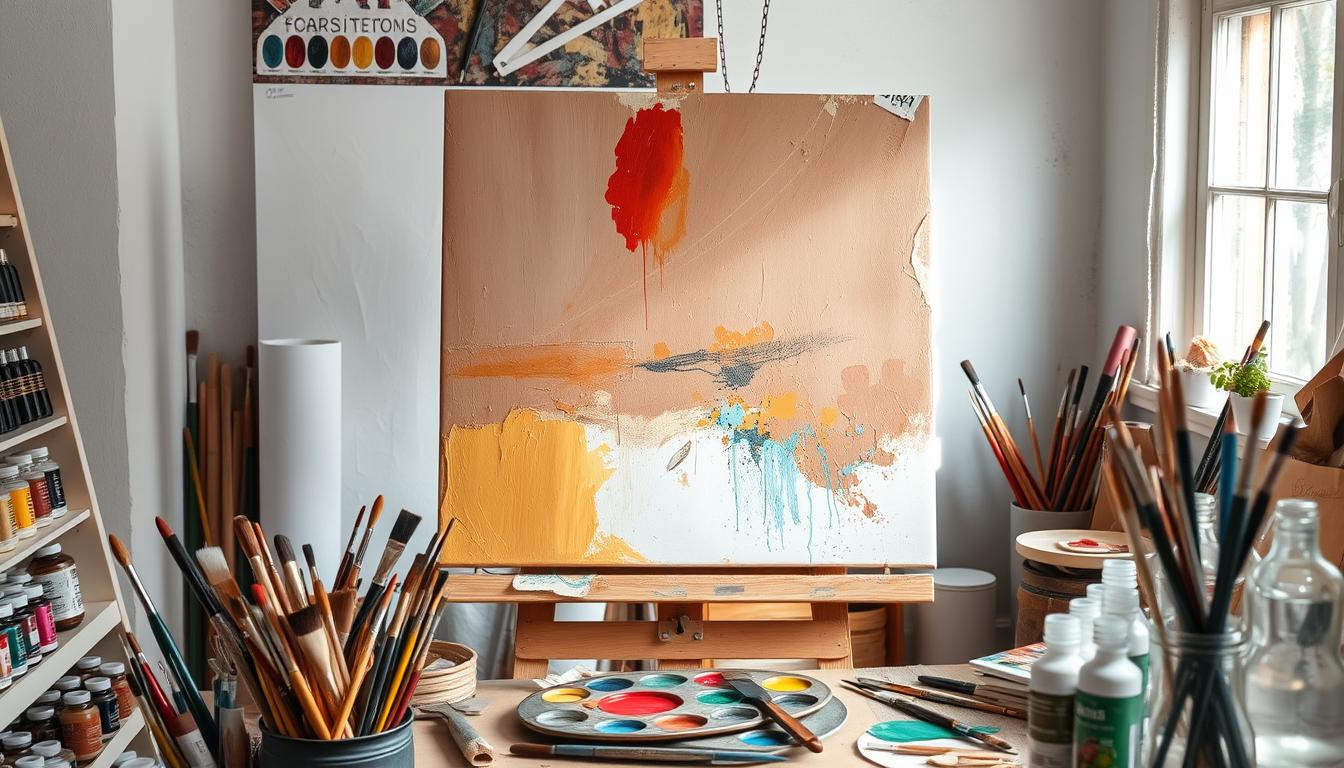
Some artists mix acrylic paint into the gesso for a colored ground. This tinted surface can change the painting’s mood. Earthy tones like raw umber and yellow ochre add warmth and depth.
Getting your canvas right is key for great acrylic underpainting. By using gesso and colored grounds, you’re ready for a stunning painting journey.

| Canvas Preparation Element | Ratio of Inclusion |
|---|---|
| Sizing | 20% |
| Priming with Gesso | 80% |
| Underpainting | 100% |
A good foundation is crucial for an artist’s work. While oil primers are best for oil paintings, acrylic gesso is better for acrylic underpainting.
Wait 24 hours after priming before painting. This lets the canvas dry and become even. It also makes painting easier with acrylic gesso.
For those who want to skip priming, pre-primed canvases are available. They let you dive straight into your art.
“Underpainting is a technique that dates back to the old masters of the Renaissance period. Art historians credit Titian as a pioneer of underpainting in the 16th century, with other famous old masters like Leonardo da Vinci and Rembrandt also utilizing this method.”
Choosing Colors for Underpainting
The colors you pick for your underpainting greatly affect your painting’s final look. Warm and cool colors can change the mood and lighting. Opaque and transparent paints offer different levels of coverage and shine. Trying out different colors and paints is crucial for the best underpainting.
Warm and Cool Underpainting Colors
Warm colors like reds, oranges, and add depth and shine to your painting. They make your painting feel warm and inviting. Cool colors, such as blues, greens, and purples, create a calm mood. They’re great for making landscapes feel distant and atmospheric.
Selecting Opaque or Transparent Paints
Choosing between opaque and transparent paints also affects your painting. Opaque paints, like titanium white, cover well and help set the painting’s structure. Transparent paints give a soft, dreamy look. They let the underpainting show through in the final layers.
| Underpainting Technique | Typical Colors Used | Desired Effect |
|---|---|---|
| Warm Underpainting | Reds, oranges, yellows | Depth, radiance, natural light |
| Cool Underpainting | Blues, greens, purples | Serene, atmospheric mood, distance |
| Opaque Underpainting | Titanium white | Solid value structure, quick coverage |
| Transparent Underpainting | Various transparent pigments | Soft, ethereal effect, subtle influence |
Knowing how different colors and paints work helps you choose wisely for your underpainting. This choice sets the stage for your final painting. Don’t be afraid to try new things to find what works best for you.
Acrylic Paint Underpainting Techniques
Acrylic paints have many underpainting techniques to create unique effects. These methods help build depth, texture, and interest in your art. Learning them can make your artwork stand out.
Using acrylic underpainting prevents the white of the canvas from showing through. It adds shadows, depth, texture, and color contrast. This makes your final piece look better. Plus, it saves time because many acrylic colors are transparent or semi-transparent.
While underpainting is not required, it adds a lot to your artwork. Artists often use gray or brown shades for underpainting. The colors used set the mood of the painting, with cool hues creating a cool feel and warm colors making it warm.
Some key acrylic underpainting techniques include:
- Washes for full canvas coverage
- Mapping lights and darks before adding colors
- Grayscale underpainting as a guide for building layers of paint
Underpainting terms vary, such as wash, grisaille (black and white), verdaccio (shades of green), brunaille (shades of brown), ébauche (muted tones), and imprimatura (first layer of paint). While not necessary, underpainting can greatly improve your painting. It provides a base for color mapping and helps in the painting process.
Trying out different acrylic underpainting techniques can open up new creative possibilities. Acrylics are flexible and versatile, allowing you to explore new ways to add depth, texture, and interest to your art. So, start experimenting and let your artistic vision shine through acrylic underpainting.
Layering and Glazing Over the Underpainting
After setting up the underpainting, you can add more layers. You can use transparent glazes or layers of opaque paint. Glazing helps change colors and values, adding depth and light to your art. Opaque paint layers can add texture, draw attention, and improve the art’s structure.
Applying Transparent Glazes
Acrylics dry quickly, making them great for glazing. The tutorial uses Golden Acrylics and Winsor & Newton Professional Acrylics. It mentions Raw Umber, Titanium White, Phthalo Blue – Red Shade, Permanent Alizarin Crimson, and Raw Sienna.
It stresses the need for Golden Paints’ Acrylic Glazing Liquid Gloss for glazing.
Building Up Layers of Opaque Paint
Glazing involves adding transparent layers of paint over opaque paint. This method creates depth and light in your art. The tutorial shows how glazing, like in oil painting, adds warmth and depth.

“Glazing is a continuous process involving experimentation to achieve desired effects.”
The tutorial also talks about using a stay-wet palette to keep colors fresh. It lists other important tools like a palette knife, a canvas board, kitchen roll, a clean water jar, a mini jam jar, a tear-off palette, and an Acrylic marker.
acrylic paint underpainting techniques
Two main techniques in acrylic paint underpainting are alla prima and dry brush. These methods bring unique interest and depth to your art. They help take your paintings to the next level.
Alla Prima Underpainting
The alla prima method means adding wet paint to wet underpainting. This creates a blend that looks spontaneous and dynamic. Working fast, you can capture the essence of your subject, with the underpainting adding texture.
Dry Brush Underpainting
The dry brush method uses a brush with little paint. It builds thin layers that show the underpainting. This technique adds interest and movement to your art. Changing brush pressure and paint amount creates different effects.
Both alla prima and dry brush techniques are powerful for artists. Trying these methods can open up new ways to express yourself in your paintings. They add depth, texture, and energy to your work.
“The underpainting is the foundation upon which the entire painting is built. It’s the very heartbeat of the artwork.”
Underpainting for Portraits and Figures
Underpainting is a key technique that adds depth and contrast to portraits and figures. It creates a solid base for artists to explore new levels in their work.
The Imprimatura technique uses a thin layer of paint to soften the canvas. This layer sets the mood and depth early on. The Grisaille method involves using shades to plan the light and dark before adding colors.
Underpainting is not just for oil paintings; it works well with acrylics too. Famous artists like Titian and Rembrandt used it to improve their portraits and figures.
| Underpainting Technique | Description |
|---|---|
| Imprimatura | A thin, transparent layer of paint applied to mute the brightness of the white canvas |
| Grisaille | Layering medium and dark tones to establish light and value before adding color |
Underpainting does many things, like planning the final image and setting up contrast. Choosing the right colors and techniques can greatly affect the mood of your art.
Whether you like the Imprimatura’s simplicity or the Grisaille’s value, learning underpainting techniques for portraits and figures can change your art. It helps you build a strong base for your paintings, adding depth and lasting impact.
Underpainting for Landscapes and Still Life
Acrylic underpainting techniques are not just for portraits. They also work well for landscapes and still life paintings. Two key methods are atmospheric underpainting and toned underpainting.
Atmospheric Underpainting
Atmospheric underpainting adds depth and atmosphere to landscapes. Artists use warm and cool tones to create a soft, hazy effect. This enhances the mood and perspective of the scene.
This technique guides the viewer’s eye through the painting. It leads them into the depth of the landscape.
Toned Underpainting
Toned underpainting focuses on a unified color scheme and texture. A thin, tinted layer of paint covers the entire canvas. This creates a harmonious base for underpainting for landscapes and underpainting for still life.
This method is especially useful for toned underpainting in still life. It unifies the different elements in the composition.
Both atmospheric underpainting and toned underpainting are vital in acrylic painting. They set the mood, depth, and color harmony. This makes the next layers of paint blend smoothly and effectively.
| Technique | Description | Benefits |
|---|---|---|
| Atmospheric Underpainting | Using a combination of warm and cool tones to create a sense of depth and atmosphere in a landscape painting. | Enhances the overall mood and perspective of the scene, guiding the viewer’s eye through the painting. |
| Toned Underpainting | Applying a thin, tinted layer of paint across the entire canvas to establish a unified color scheme and subtle texture. | Helps to unify the various elements in a still life composition and creates a harmonious foundation for the final painting. |
Troubleshooting and Tips
Starting with acrylic underpainting can bring up some common problems. You might struggle with avoiding muddy colors and preserving the texture of your work. But with the right strategies, you can tackle these issues and get amazing results.
Avoiding Muddy Colors
Muddy colors can be a big challenge with acrylics. To avoid this, be careful with how you mix colors and the paint’s transparency. Use a mix of warm and cool colors and don’t overwork the paint. Also, watch the opacity of your pigments to prevent a muddy look.
Preserving Underpainting Texture
Acrylic underpainting lets you create a textured surface. To keep this texture, use specific tools and methods. Dry brushing and intentional scraping can help keep the texture alive. Try different techniques to see what works best for you.
By tackling these common problems, you’ll be on your way to creating vibrant, textured acrylic underpaintings. These will be the perfect base for your most creative artwork.
“Acrylic paint has advanced significantly, now able to outperform oils in many aspects. Various acrylic painting techniques exist, adapted or inspired by traditional oil painting methods.”
Conclusion
Acrylic underpainting techniques open up a world of vibrant, textured paintings. By learning about acrylic underpainting, preparing your canvas, and mastering various techniques, you can improve your art. The underpainting process helps artists set values, play with light, and create stunning contrasts.
Choosing imprimatura, grisaille, or a limited palette is just the start. The key is to keep growing and trying new things. With time and effort, you’ll discover the full potential of acrylic paints. Your paintings will amaze and engage your viewers.
Keep exploring acrylic paint underpainting techniques with curiosity and flexibility. The journey of mastering acrylic underpainting is as fulfilling as the outcome. So, dive into this exciting adventure and enhance your acrylic painting skills.
FAQ
What is underpainting?
Why use acrylic paints for underpainting?
How should I prepare the canvas for underpainting?
How do color choices affect the underpainting?
What are some acrylic underpainting techniques?
How can I avoid muddy colors in my underpainting?
How can underpainting techniques be applied to different subject matter?
This post contains affiliate links.

