
This post contains affiliate links.
Creating an acrylic painting is a source of pride and joy for artists. But, capturing your artwork’s essence through photography is just as important. A great photo can make your work stand out, even in competitive galleries.
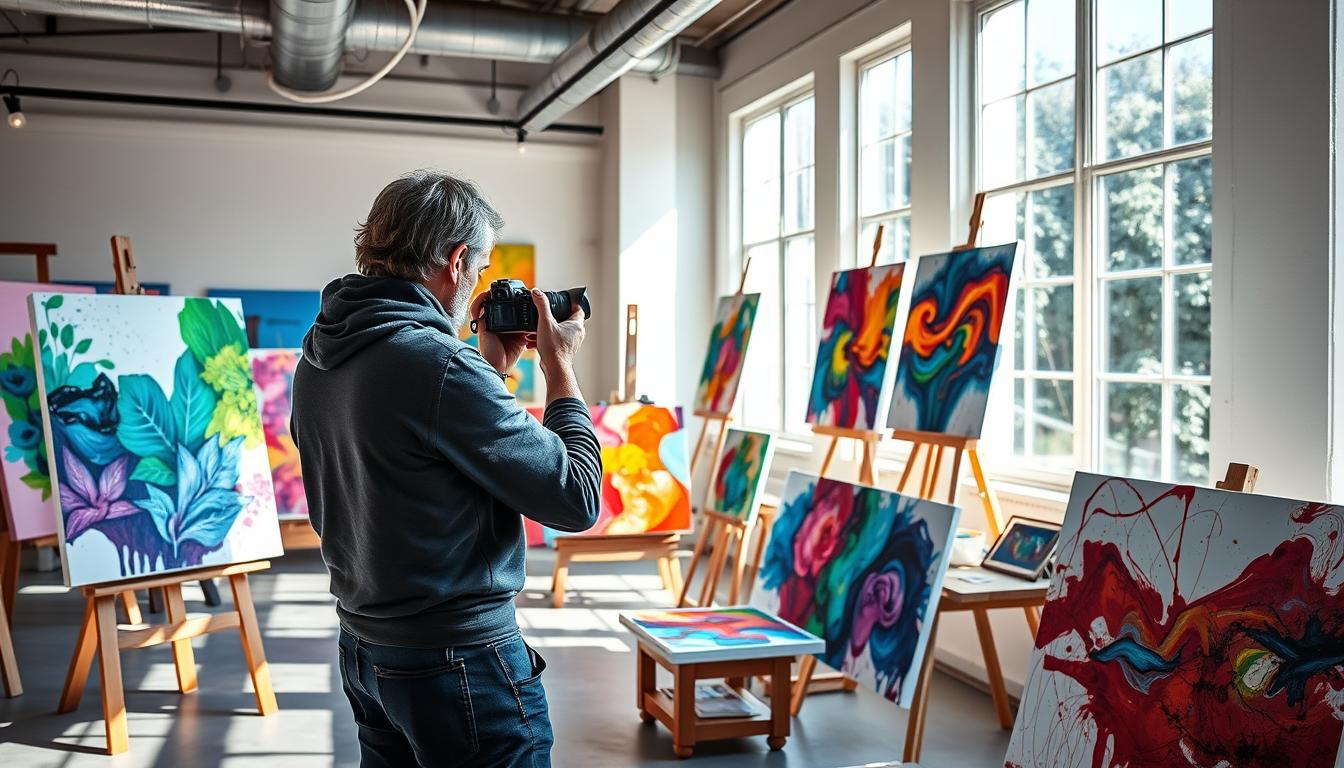
In this guide, I’ll share my best tips for photographing acrylic paintings. These techniques will highlight your artwork’s colors, textures, and creativity. Whether you’re experienced or new to painting, these tips will enhance your art’s presentation and impress your viewers.
Key Takeaways
- Proper acrylic painting photography can make or break an artist’s chances of being accepted to a show.
- Good photography offers the first impression of an artist’s art and professionalism.
- Lighting is crucial for indoor photography, and some artists use natural light from windows.
- A Nikon D750 or a DSLR with at least 12 megapixels is recommended for photographing art for prints.
- Editing software such as Adobe Photoshop and Lightroom are essential for perfecting photographs of artwork.
Setting Up for Acrylic Painting Photography
Capturing the vibrant colors and intricate textures of acrylic paintings needs careful preparation and the right equipment. Proper lighting is crucial for showcasing the unique qualities of this medium.
Equipment Needed
To photograph acrylic artworks, you’ll need a DSLR camera with a macro lens, a sturdy tripod, and a suitable lighting setup. The camera should be positioned parallel to the painting, ensuring a straight-on perspective. A DSLR with at least 24 megapixels, like the Nikon D3500 or the high-end Nikon D850, will provide the image quality needed to capture fine details.
Lighting Setup
For the best results, use bright, indirect natural daylight or high-quality continuous lighting with daylight-balanced bulbs. Position the lights at a 45-degree angle to the artwork, and use polarizing filters to reduce glare. Avoid direct sunlight, which can create hot spots and distort the colors. Experiment with the lighting setup to find the optimal balance and eliminate any unwanted shadows or reflections.
| Lighting Equipment | Recommended Specifications |
|---|---|
| Continuous Lighting | 125W (625W equivalent) with 5400K color temperature |
| Soft-box Lighting | Diffuse the light and reduce harsh shadows |
| Polarizing Filters | Use to minimize glare and reflections |
By carefully setting up the equipment and lighting, you can capture the stunning visual qualities of acrylic paintings. This will help you produce professional-quality images for digital submissions, exhibitions, and online promotion.
Capturing Acrylic Artwork with a Digital Camera
Camera Settings and Positioning
When you take photos of your acrylic paintings with a DSLR camera, getting the settings and positioning right is key. Set your camera to a low ISO, like 100 or 200, for the best image quality. Use a medium aperture, such as f/8 to f/11, to keep the painting sharp all over.
Place your camera parallel to the artwork, making sure the lens is centered and the whole painting is in the frame. Use a remote shutter release or the camera’s timer to avoid camera shake during the photo. This will help you get clear, sharp photos of your professional acrylic artwork.
| Camera Setting | Recommended Value |
|---|---|
| ISO | 100 or 200 |
| Aperture | f/8 to f/11 |
By following these professional acrylic painting photography tips, you can capture stunning images of your acrylic artworks. These images will show off their true beauty and detail.
“The secret to good photography is to remember that light is the subject.” – Peter Adams
Whether you’re a beginner or a seasoned artist, mastering the art of professional acrylic painting photography can elevate your work. It helps you share your creations with the world. By understanding the right camera settings and positioning, you can ensure your acrylic paintings are captured in the best way.
Photographing Acrylic Paintings with a Smartphone
Using a smartphone to capture acrylic paintings can yield impressive results, especially for smaller pieces. A crucial tip is to use the grid feature on your camera to ensure the painting is straight and centered. Steer clear of the flash, as it can cause glare and reflections. Instead, place the painting in a spot with natural or soft lighting.
Experiment with various angles and distances to discover the perfect shot. This will help you find the most compelling composition.
Lighting is key when taking photos of acrylic paintings with a smartphone. Natural light is usually the best choice, as it accurately captures colors. If you’re indoors, place the painting near a window or use a worklamp at a 45-degree angle for even lighting. Apps like VSCO can also help with editing, allowing you to tweak contrast, exposure, and color.
- Use the grid feature on your smartphone’s camera to ensure the painting is level and centered.
- Avoid using the flash, as it can create unwanted reflections and glare.
- Position the painting in a well-lit area with natural or indirect lighting.
- Experiment with different angles and distances to find the best composition.
- Consider using a Gimbal to stabilize the phone for sharper images, especially for shooting videos.
- Utilize smartphone apps like VSCO for post-processing and adjusting the photographs.
Photographing acrylic paintings with a smartphone is a straightforward and effective method. By adhering to these guidelines and exploring different approaches, you can produce high-quality images of your acrylic paintings. These images will highlight the vibrant colors and textures of your artwork.

Editing Photos of Acrylic Paintings
After taking your acrylic paintings, editing the photos is key. Use software like Adobe Lightroom or Photoshop to adjust colors, contrast, and exposure. Make sure to fix white balance by using a gray card in the photo. Try different editing methods to enhance your artwork’s vibrancy and texture.
Color Correction and Adjustments
In addition to color and tonal adjustments, you may need to crop and resize your acrylic painting photos. Fine-tune the image’s hues, saturation, and brightness. Make sure the colors match the original painting. Adjust contrast and shadows to show the artwork’s depth and texture.
Cropping and Resizing
Crop the image to remove unwanted background and focus on the artwork. Resize the image to the right dimensions for your use, like online or print. Keep the original painting’s aspect ratio for accurate proportions.
Editing your acrylic painting photos carefully can make stunning images. Try various editing techniques to get the look you want. If needed, ask a professional photographer or look up online tutorials for help.
Tips for Glare-Free Acrylic Painting Photos
Capturing the vibrant colors and details of your acrylic paintings is rewarding. But, glare can be a big challenge. Acrylic’s shiny surface can cause glare in photos, hiding your artwork’s true beauty. With a few simple tricks, you can get stunning, glare-free photos of your acrylic art.
Start by adjusting your lighting and camera angles. Stay away from direct overhead lights or shooting straight on. Try lighting your paintings at angles over 90 degrees to cut down glare. This method, called “raking the light,” also brings out your artwork’s texture and brushstrokes.
Using a polarizing filter on your camera’s lens is also helpful. These filters block certain light wavelengths, reducing glare and making your photos clearer. A polarizer lets you see your acrylic paintings’ true colors and details without glare.
Also, choose the right place to take your photos. Avoid direct sunlight, which can cause harsh glare. Instead, find a studio or a spot with soft, even light. This way, your camera can capture your artwork’s essence without glare.
With these tips, you’re ready to take stunning, glare-free photos of your acrylic paintings. Try different lighting and angles, and use polarizing filters to improve your photos. By mastering glare-free photography, you can show off your acrylic paintings in their best light. Check out beginner-friendly acrylic painting tutorials to boost your creativity and capture your artwork beautifully.

Photographing 3D Acrylic Artworks
Capturing three-dimensional acrylic artworks, like sculptures or mixed media, needs a sharp eye and detail focus. To show off their depth, texture, and details, photographers must think about the background and lighting. This helps create a striking and balanced image.
Background and Lighting Considerations
Choose a neutral, seamless background to avoid distractions. A plain white or neutral-colored backdrop works best. It lets the 3D acrylic piece stand out.
Lighting is key when shooting these artworks. Try different angles and intensities to bring out textures and depth. Avoid harsh shadows or hot spots that can ruin the image.
Natural daylight is often the best for acrylic paintings, especially on cloudy days. It softens shadows. Bright sunlight can create hard shadows, while clouds soften the sunlight. A good setup is to place the artwork flat outside on a cloudy day at noon. Face the artwork head-on to avoid shadows.
- Use a neutral, seamless background to create a clean, uncluttered composition.
- Adjust the lighting to highlight the texture and depth of the artwork, while avoiding harsh shadows or hot spots.
- Experiment with different camera angles and distances to capture the various perspectives and details of the 3D acrylic piece.
By carefully choosing the background and lighting, photographers can show off the unique three-dimensional nature of acrylic artworks. They can highlight intricate details and depth in stunning images that honor the artist’s vision.
how to photograph acrylic paintings
Capturing the beauty of acrylic paintings is an art in itself. Whether you’re an artist or a collector, knowing how to photograph acrylic paintings is key. This guide will show you how to take stunning photos of your artwork.
Lighting is crucial when photographing acrylic paintings. Natural light, especially bright and indirect, is best. It reduces glare and shadows. Avoid flash, as it can cause harsh reflections.
Camera settings are also important. Use a low ISO, like 100, for clear images. DSLR users should set the aperture to f/8 to f/11. This ensures your painting is sharp. Always use a tripod to avoid blurriness.
| Tip | Benefit |
|---|---|
| Use natural light | Prevents color tints and provides even, balanced lighting |
| Shoot at low ISO | Ensures clear, crisp images without noise or graininess |
| Employ a tripod | Eliminates camera shake for sharper, more focused photos |
Editing your photos can also improve them. Use Adobe Lightroom, Snapseed, or the Moment app to adjust colors and contrast. Cropping can also enhance the photo’s focus.
Learning to photograph acrylic paintings well lets you showcase your art beautifully. Use these acrylic painting photography tips to make your artwork stand out!
Best Practices for Professional Acrylic Art Photography
Composition and Framing
When taking photos of acrylic paintings, focus on the composition and framing. Place the artwork to remove distractions and show off its best parts. Try different angles and use the rule of thirds for a balanced look.
Good framing is key to showing off acrylic paintings well. Stay away from cluttered backgrounds. Instead, choose a simple setting that lets the painting shine. Try different orientations to find the best way to show off the piece.
Think about where to stand when taking the photo. A straight-on shot usually works best, as it shows the painting accurately. Move the camera around to find the best spot that highlights the painting’s special features.
Learning about composition and framing can make your professional acrylic art photography stand out. It helps create images that truly capture the essence of the original artwork.
Conclusion
Photographing acrylic paintings needs a careful and methodical approach for the best results. Follow the tips and techniques in this guide to capture your artwork’s vibrant colors, textures, and details. This will help you present your work online, in print, or for portfolio submissions in the most compelling way.
This guide has given you the essential knowledge and skills to improve your acrylic painting photography. By using the right lighting, camera settings, and editing, you can make your artwork look stunning and true to life. This lets your creative vision shine through.
The global art market is growing, with online sales hitting new highs. Being able to photograph your acrylic paintings well is more important than ever. By mastering these techniques, you can share your work with more people, connect with collectors and galleries, and grow your artistic career. So, dive into the art of acrylic painting photography and let your creativity soar.
FAQ
What equipment do I need to photograph acrylic paintings?
How should I set up the lighting for photographing acrylic paintings?
What camera settings should I use when photographing acrylic paintings?
How can I photograph acrylic paintings with a smartphone?
How do I edit photos of acrylic paintings?
How can I avoid glare when photographing acrylic paintings?
What considerations should I keep in mind when photographing 3D acrylic artworks?
What are the best practices for professional-level acrylic art photography?
This post contains affiliate links.