This post contains affiliate links.
Picture yourself in front of an empty canvas, filled with potential. This moment is exciting, a chance to let your creativity soar. Starting your journey with acrylic painting might seem daunting. But remember, you’re not alone. Many others have been where you are, ready to learn and create with acrylics. This guide will help you, step by step, as you dive into the world of acrylic painting.
Acrylic paints are loved by artists for being flexible. They work on many surfaces like canvas, paper, wood, ceramics, fabric, and even glass. Beginners especially like them because they’re easy to use straight out of the bottle or tube. Cleaning up is also easy since they’re water-soluble. Unlike oil paints, acrylics don’t smell strong or give off fumes, making painting enjoyable and safe.
Acrylic paints are affordable, opening the doors to anyone wanting to start painting. You can play with smooth color shifts or build up textures. Acrylics let you experiment and find your style, making them perfect for beginners.
Key Takeaways
- Acrylic paints are versatile and can be used on various surfaces such as canvas, paper, wood, ceramics, fabric, and glass.
- They are beginner-friendly due to their ease of use and simple cleanup process.
- Acrylics are pleasant to work with as they don’t emit strong odors or fumes.
- Affordable paints make it accessible for budding artists to start their journey without a large financial investment.
- These paints open up a world of possibilities, from smooth gradients to textured layers, ideal for creative exploration.
Why Choose Acrylic Paint for Beginners?
Acrylic paint is great for those new to art because of its amazing qualities. It is versatile, easy to use, and won’t break the bank. This makes it perfect for beginners eager to start painting without stress.
Versatility
Acrylic paint’s versatility is unmatched. You can use it like watercolors or like thick oil paint. It works on many surfaces like canvas, paper, and wood. This feature is perfect for all kinds of painting projects.
Such flexibility is super helpful for beginners. It opens up many possibilities in painting techniques.
Ease of Use
Acrylics dry fast which means you can see your progress quickly. They’re also easy to wash off with water and don’t smell bad. This is great for those painting at home or in a shared space.
Beginners find it helpful to follow tutorials. They show how easy and accessible acrylics are.
Affordability
Acrylic paints are also affordable. They range from budget-friendly to professional grades. This lets new artists try things out without spending too much.
Look at this guide to learn about supplies and techniques for starters.
With step-by-step tutorials, anyone can begin painting confidently. Acrylics let you try anything from realist to abstract art. It’s a versatile, easy, and affordable way to express creativity.
Essential Tools and Materials
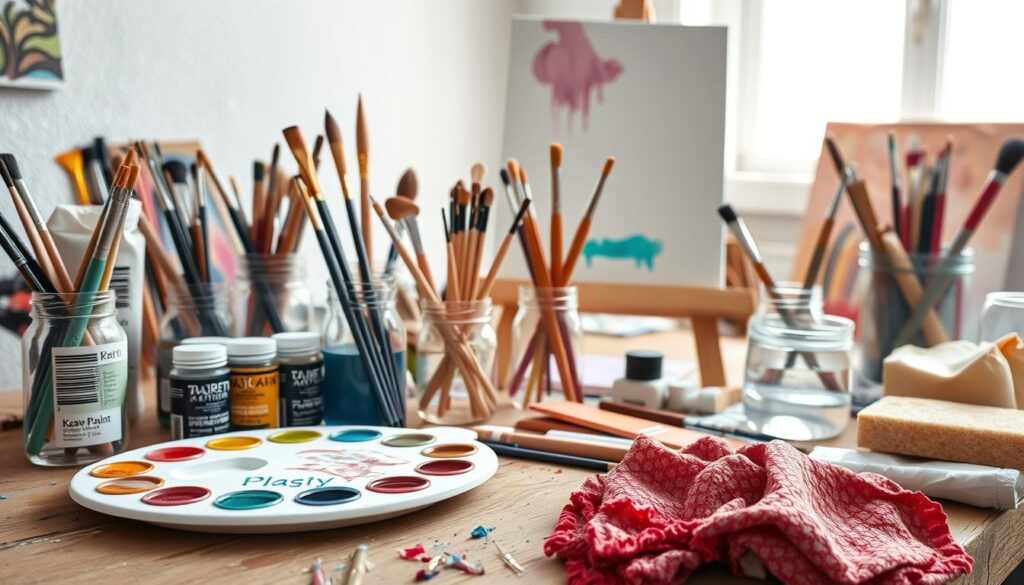
To start with acrylic painting, gathering the right tools and materials is key. You’ll need to pick the best paints, brushes, and surfaces. This solid setup is your first step to success.
Paints
Choosing acrylic paints is crucial for any new artist. Start with paint sets that include basic colors like red, yellow, and blue. Add white and black to mix almost any color. For more variety, add green, purple, orange, brown, and pink to your collection.
Brushes
It’s important to pick the correct brushes. Brushes for acrylic painting vary in shape and size. Get a mix of large, medium, and small brushes. This will let you try different strokes and textures in your artwork.
Surfaces
Pay attention to the surfaces you paint on. Beginners often start with ready-to-use canvases. You can also use canvas boards or heavy-duty watercolor papers. Adult paintings usually fit best on 16 x 20, 12 x 16, or 11 x 14 surfaces. For kids, try smaller sizes like 11 x 14, 9 x 12, or 8 x 10.

Setting up your painting area is vital. Have two water pots to keep your brushes clean. A table easel makes painting more comfortable. You can find them for $10 to $20 at places like Michael’s or Blick Art Materials. Check stores like Walmart and Target for supplies, but they might have less selection.
| Tool/Material | Recommended Type | Suggested Stores |
|---|---|---|
| Paints | Primary colors, additional colors | Michael’s, Blick Art Materials, Hobby Lobby |
| Brushes | Acrylic-specific, various sizes | Michael’s, Blick Art Materials |
| Surfaces | Pre-stretched canvases, canvas boards, 300lb watercolor paper | Michael’s, Hobby Lobby |
| Table Easel | Affordable ($10-$20) | Michael’s, Blick Art Materials, Walmart |
Priming Your Canvas with Gesso
Priming your canvas with gesso is key if you’re starting with acrylic painting techniques for beginners. Gesso creates a textured surface that helps the paint stick better. This makes your artwork look better and last longer. It stops the paint from seeping into the canvas, which is very important.
Using gesso is pretty simple. Artists like Kelly Baskin swear by it, especially when using tools like a Catalyst Wedge with Maimeri’s Oil Primer. These tools make cleanup easy and help fill the canvas texture. Here are the steps to follow:
- Start with a 100% cotton canvas panel, the best choice for oil and acrylic painting techniques for beginners.
- Begin with a light, thin layer of gesso to ensure it gets into the canvas well.
- Let the first coat dry for at least 24 hours. Being patient is crucial for good results.
- Add more coats as needed. The amount of gesso and water varies by brand.
- Between coats, use 240 grit sandpaper for a smooth finish.
Beginners should try high-quality gesso for its strong pigment and opacity. Strathmore 300 Series Stretched Canvas is another good choice as it often comes pre-primed. Still, adding more layers of gesso can give your work a unique texture.
Modern acrylic gesso is made of calcium carbonate, white pigment, and an acrylic medium. This mix makes it flexible and durable for acrylic painting. Unlike the old gesso that used animal glue, the new types are better for the environment and easier to use. This is crucial for those learning acrylic painting techniques for beginners.
| Type | Description | Usage |
|---|---|---|
| Traditional Glue Gesso | Animal glue, chalk, and white pigment | Primarily for oil paints |
| Modern Acrylic Gesso | Chalk, acrylic polymer medium, titanium white | Suitable for both oil and acrylic paints |
| Colored Gessos | Available in black, colored, and clear | Special effects and varied underpaintings |
There are also colored gessos, including black and clear, for artists wanting something different. These options allow for creative underpaintings. With this knowledge, new artists can prepare their canvases well, laying a strong foundation for their art.
Basic Acrylic Painting Techniques
Starting with acrylic painting is exciting for newcomers. Learning basic techniques can greatly improve your art. In this guide, we explore essential methods like dry brushing, wet on wet, and stippling. These are important in many acrylic painting tutorials for beginners.
Dry Brushing
Dry brushing is an easy acrylic painting technique for beginners. It uses a mostly dry brush for a textured look. It’s great for making shapes stand out. On a gesso-prepped canvas, it brings out bold textures.
Wet on Wet
Wet on wet, or ‘alla prima,’ means painting wet paint over wet paint. It’s good for smooth blends on the canvas. Great for gradients, it’s explored in acrylic painting tutorials for beginners.
Stippling
Stippling involves making tiny dots for texture and shading. It’s perfect for detailed and interesting effects. Using a pointed brush changes the dots’ density to get the right texture. It’s an easy acrylic painting technique for depth and complexity.
Practicing these techniques boosts your skills and confidence. Dry brushing, wet on wet, and stippling each add something special to your art. They help you grow steadily in your painting journey.
Layering Your Acrylic Paints
Layering is key in acrylic painting because it dries fast. It involves putting on thin paint layers to make depth and texture. These beginner acrylic painting tips can help artists improve their work.
Layers offer many benefits, like changing parts without affecting everything else. There are several layering methods like wet-on-wet and drybrush. Each brings something special to the artwork. Find out about these methods here.

Glazing is one method that makes depth and shine with thin, clear color layers. For satin acrylic glaze, mix 1/2 glaze with 1/8 pigment for light looks. Use more pigment for deeper colors. The last coat often has 3/4 satin glaze, 1/4 gloss glaze, and a bit of water.
Choosing the right colors is crucial when layering. Popular colors include Phthalo Blue and Titanium White. Using satin and gloss glaze mediums adds depth and texture.
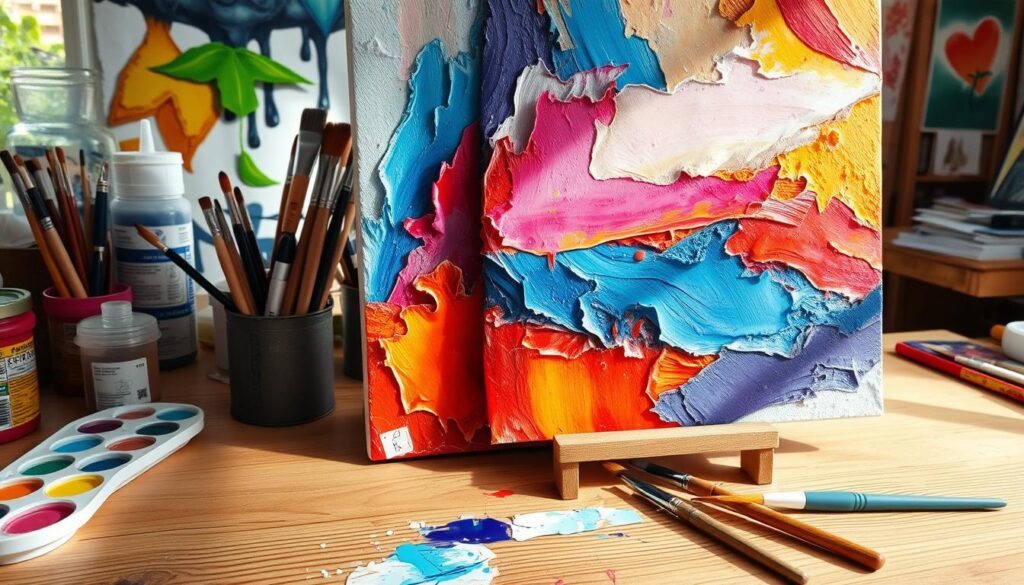
Using household items for texture adds more dimension. Tools like palette knives and soft brushes, like filberts, help blend colors smoothly. Dry brushing brings out fine details and textures.
Each layer must dry fully before adding more to avoid smudging. The drying time depends on the paint’s thickness and the environment. Typically, waiting at least an hour between layers works well. This patience is crucial for beginner acrylic painting tips.
To conclude, mastering layering can elevate your acrylic artworks. Whether you’re using a step-by-step acrylic painting guide or your own methods, layering enhances quality and richness.
Mixing and Blending Colors
Mastering how to blend and mix colors is key for beginner artists. Knowing color interaction helps create stunning paintings. A color wheel makes it easier to produce a variety of hues.
Using a Color Wheel
A color wheel is a must-have for beginners in acrylic painting. It shows how primary, secondary, and tertiary colors relate. For example, mixing primary colors like red, yellow, and blue makes secondary colors like orange, green, and purple. Combining a secondary color with a primary color can give you colors such as turquoise or violet.
Complementary colors, which are opposite on the wheel, mix to produce neutral tones like black, brown, or gray.
Acrylic paints are great because you can mix various hues. This means artists save money and get the exact color they want. Paint companies also offer warm and cool versions of primary colors. This enhances the possibilities for mixing.
Troubleshooting Common Mixing Problems
Beginners sometimes struggle with color mixing. A common issue is creating a muddy color by mixing the wrong colors. This often happens if you don’t understand color properties or paint pigments.
To prevent muddy mixes, learn about your paint’s transparency or opacity. Also, knowing how to use complementary colors helps. For example, adding green to red creates realistic shadows. Similarly, a bit of purple can enhance yellow items.
Acrylic Pouring Techniques
Many people enjoy acrylic pouring. It’s a creative technique for both newbies and expert artists. This method lets you pour liquid acrylic paint on a canvas. This creates beautiful, unpredictable patterns.
Basic Pouring Method
The basic pouring method is crucial in acrylic painting tutorials for beginners. Mix acrylic paint with a pouring medium at a 2:1 ratio for the right texture. This mix should be as thin as warm honey. It helps colors flow and blend well. Gathering your materials takes about 30 minutes. The pouring itself lasts around 10 minutes.
How to do the basic pour:
- Pour the mixed paint onto an 8×10 canvas.
- Make sure the canvas is level and raised off the ground.
- Lean the canvas different ways to spread the paint everywhere.
Use disposable cups and sticks for mixing and cleanup. Let the canvas dry for 2-3 days. After drying, you can apply a glossy varnish for a polished look. But this step is optional.
Dirty Pour
The Dirty Pour is a special twist on the traditional pour. It’s very popular in guides for new artists. With this technique, you pour different colors from one cup. This method creates exciting marbled effects and vibrant swirls.
Here’s how to Dirty Pour:
- Pick 4-5 different acrylic paint colors. Including metallics makes it pop.
- Stack the colors in one cup. Add 2-3 drops of silicone oil to each for cool effects.
- Flip the cup onto the canvas, then lift slowly to let the paint out.
- Move the canvas to spread the paint and shape your design.
Use about 4 oz of paint for an 8×10 canvas, and 6 oz for a 12×12. Even using the same colors, every piece will be one-of-a-kind. Dry time ranges from 24 hours to a few days, depending on humidity.
For beginners, these easy techniques are a great way to try art without needing to know how to use a brush.
A recent article about acrylic pouring was shared 88.2K times. This shows how popular this art form has become.
Special Effects with Acrylics
Acrylic painting’s special effects can make your art more engaging and complex. Our step-by-step acrylic painting guide shows beginners how to achieve amazing effects easily.
Spattering
Spattering adds texture and a random feel to your work. It’s done by flicking your brush, letting paint droplets scatter on the canvas. It’s great for making starry skies or sand looks. Beginners should try using a brush full of paint and attempt various flicking motions to see how the paint sprays. Our beginner acrylic painting tips explain different spattering techniques and how to use them.
Dripping
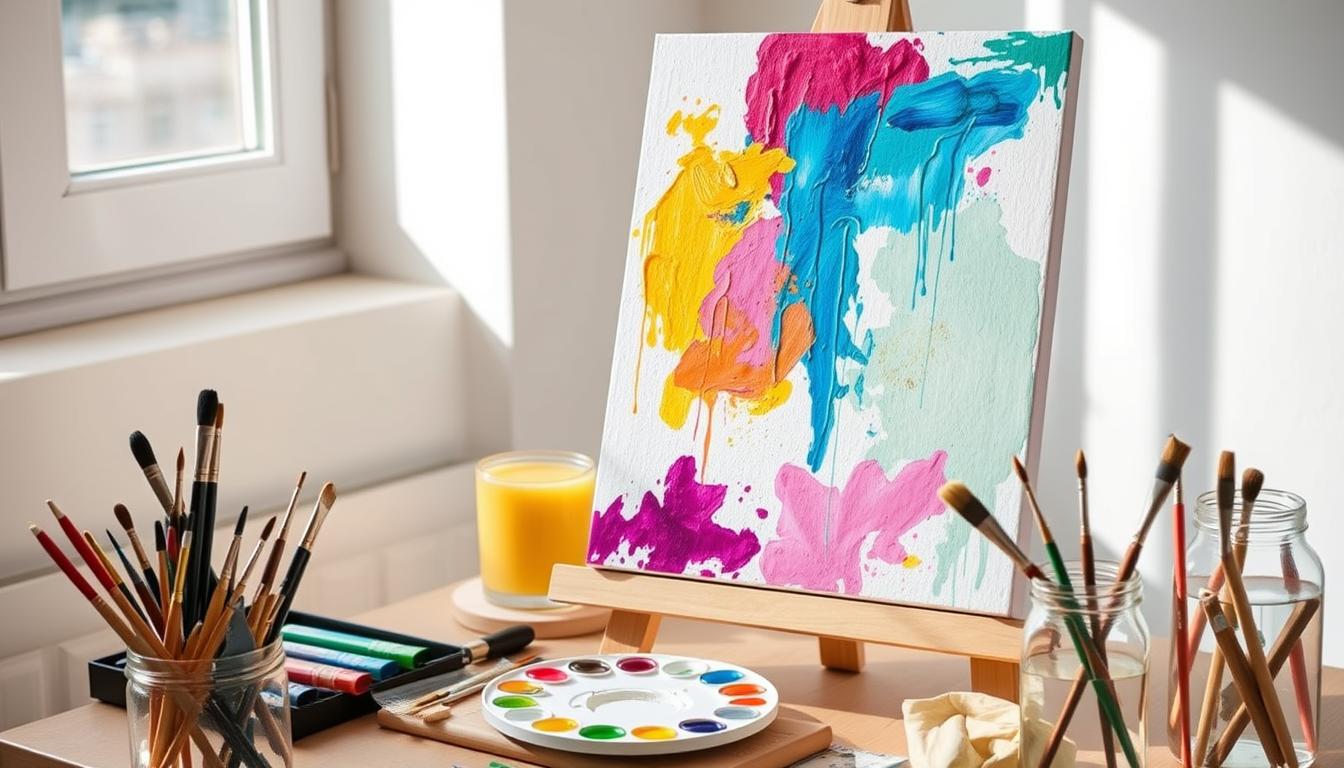
Dripping lets paint flow down the canvas, creating motion or dramatic looks. It’s ideal for abstract art. You can control the speed and length of the drips by changing the paint’s water or medium content. Check our guide for tips on adjusting your paint for the best dripping effects.
Newcomers can learn spattering and dripping from Painting to Gogh’s tutorials. These guides help improve your acrylic painting skills, from basic to advanced. Trying these techniques can open up new creative possibilities and enhance your artwork.
| Brush Technique | Recommended Brush or Tool | Effect Created |
|---|---|---|
| Spattering | Stiff Bristle Brush | Textured surface similar to stars or sand |
| Dripping | Round Brush with Added Water | Rivulets of paint that create motion |
| Dry Brushing | Flat Brush | Rough, scratchy texture |
Using Palette Knives
Palette knives are a versatile tool for improving your acrylic paintings. They make it easy to spread paint smoothly and create textures and layers that you can’t get with brushes. They’re especially useful for beginners who want to add depth to their work with easy acrylic painting techniques.
Statistics show that 80% of paint in artwork is mixed using a palette knife. This highlights the importance of learning to use this tool early in your painting journey. To start, you’ll need a medium-sized, diamond-shaped palette knife with a cranked handle, a size 4 black hog brush filbert, and an 8 x 10 MDF board. Prepare the board with two coats of acrylic gesso and one coat of colored ground.
A detailed 4-part video tutorial introduces easy acrylic painting techniques. It features artist-quality acrylics like Titanium White, Cadmium Yellow Light, Alizarin Crimson Permanent, Ultramarine Blue, and Burnt Umber. The course shows 16 palette knife techniques, including color application, blending, pressing, sgraffito, and more. These techniques are useful for painting and also for working with clay.
Here’s a detailed breakdown of the key materials and techniques covered:
| Materials | Techniques |
|---|---|
| Medium-sized diamond-shaped palette knife with cranked handle | Applying color, blending color, pressing, broken application |
| Size 4 black hog brush filbert | Linework, sgraffito, double loading, creating petals |
| 8 x 10 MDF board with two coats of acrylic gesso and one coat of colored ground | Applying paint directly to canvas, scooping paint, directional lines |
| Titanium White, Cadmium Yellow Light, Alizarin Crimson Permanent, Ultramarine Blue, Burnt Umber | Mixing paint, blocking in |
By using these techniques, you’ll find that palette knives are essential for easy acrylic painting techniques. They help you create both striking and subtle effects in your art.
Additional Tips for Acrylic Painting Techniques for Beginners
Acrylic paints dry quickly. This can be good and bad. You can use special mediums to slow the drying. This helps you blend colors longer. A stay-wet palette also keeps your paint ready to use.
Clean brushes are important. If not cleaned right away, acrylics make brushes hard. Choose brushes made for acrylics. They stick to the paint better and last longer. Having brushes of different sizes lets you paint details and large areas easily.
It’s key to use colors well to add life to your paintings. Mix warm and cool shades for contrast. Bright colors and white make your artwork pop. Techniques like wet-on-wet and glazing help blend colors smoothly. For thick textures, try the impasto technique.
Try painting on different materials. Acrylics work on canvas, wood, paper, and glass. Practice blending and layering to get better. Regular practice is crucial in learning. Keep your space tidy and your brushes clean. This will help you excel in acrylic painting.
FAQ
What are some essential beginner acrylic painting tips?
What makes acrylic paints a good choice for beginners?
How do I prime my canvas before painting with acrylics?
What are some easy acrylic painting techniques for beginners?
How do I start layering my acrylic paints?
What is the importance of using a color wheel when mixing acrylic paints?
What is the basic pouring method in acrylic painting?
What special effects can I achieve with acrylic paints?
How can palette knives be used in acrylic painting?
Do you have any additional tips for beginner acrylic painters?
This post contains affiliate links.

